

Hey, Friends,
It's Giving Tuesday.
While I haven’t been posting much creative stuff lately, I have been spending my free time helping with something festive and fun; a Winter Craft Fair. When my darling, little children’s school was looking for a volunteer to help lead the Winter Craft Fair, I raised my hand.
After all, helping kids create cool, giftable stuff is super fun.
It's also a great way to make the holidays the most creative yet!
And giving time back to a community that gives so much is a great gift for all.
Speaking of communities, to give back to you, over the next few weeks, I will be sharing with you similar winter craft ideas for kids of all ages.
So, get your salad spinner ready, go rummage through the closet for the glitter, and fire up a hot glue gun because winter inspired crafts, that are going knock your mittens off, are coming your way.
Let’s start with something simple, one beautiful snowflake. Remember cutting these out when we were kids? The perfect little one-of-a-kind darlings are sure to make anyone feel special.
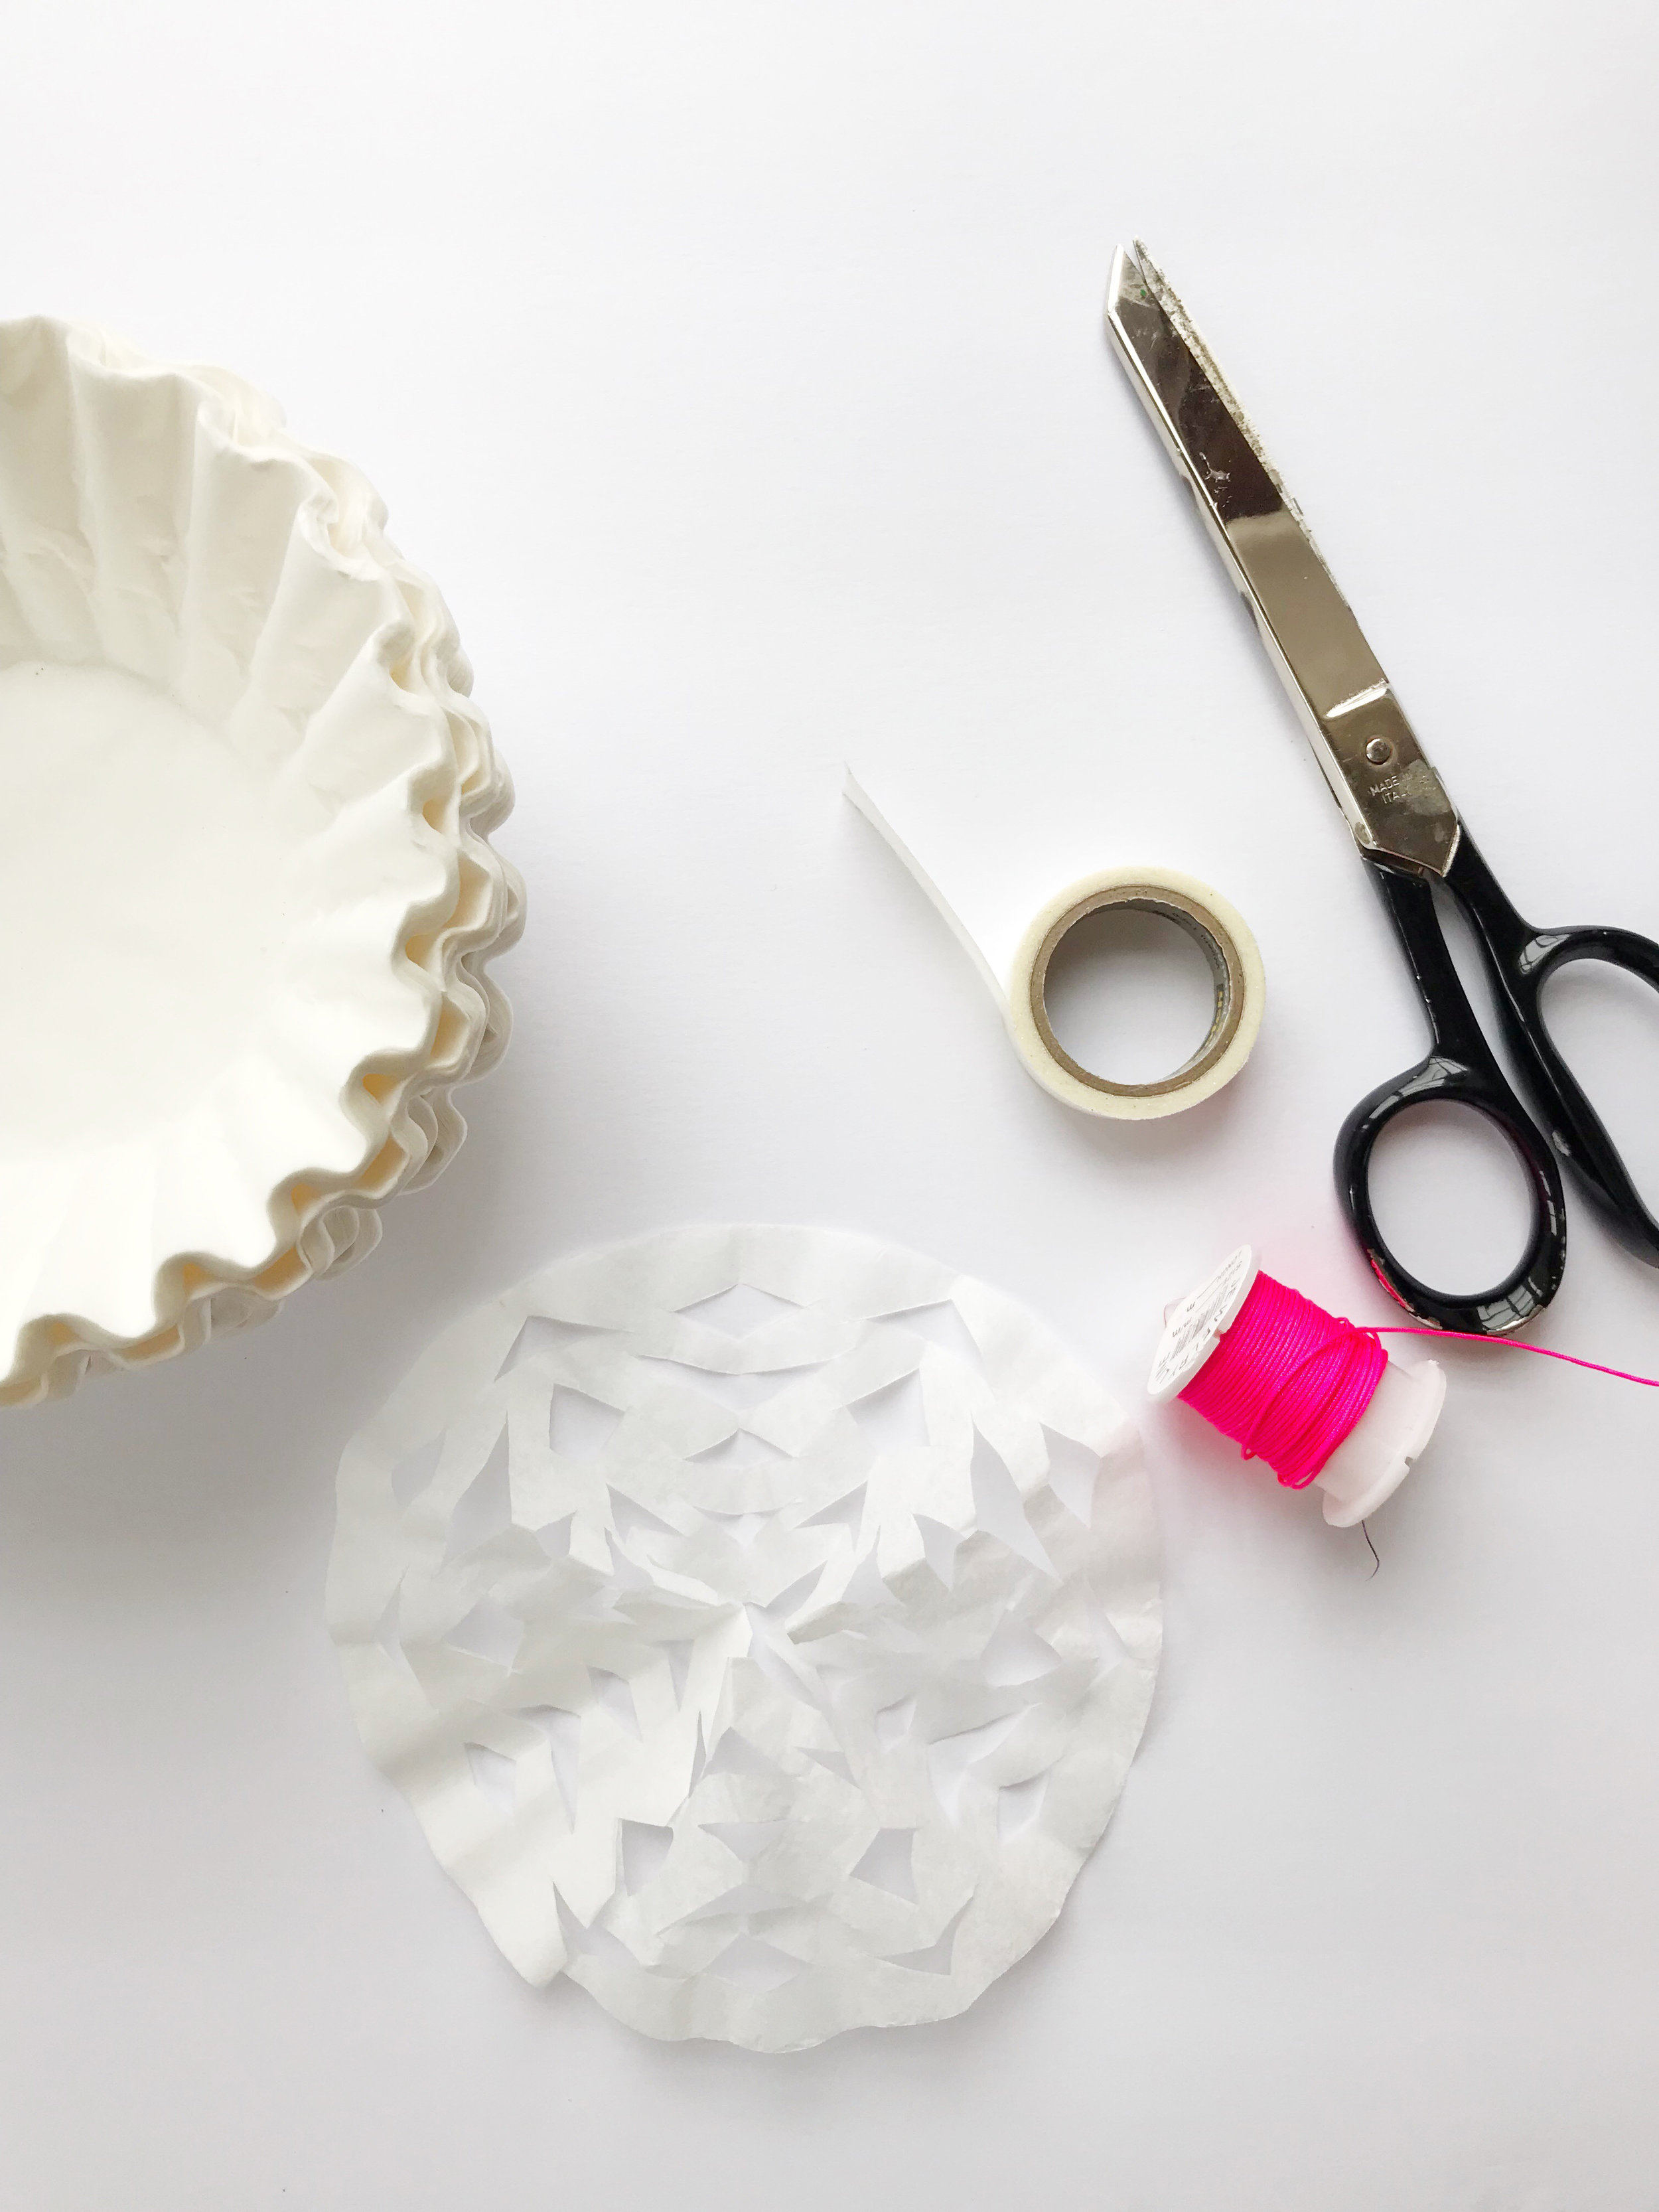
Simple Snowflake
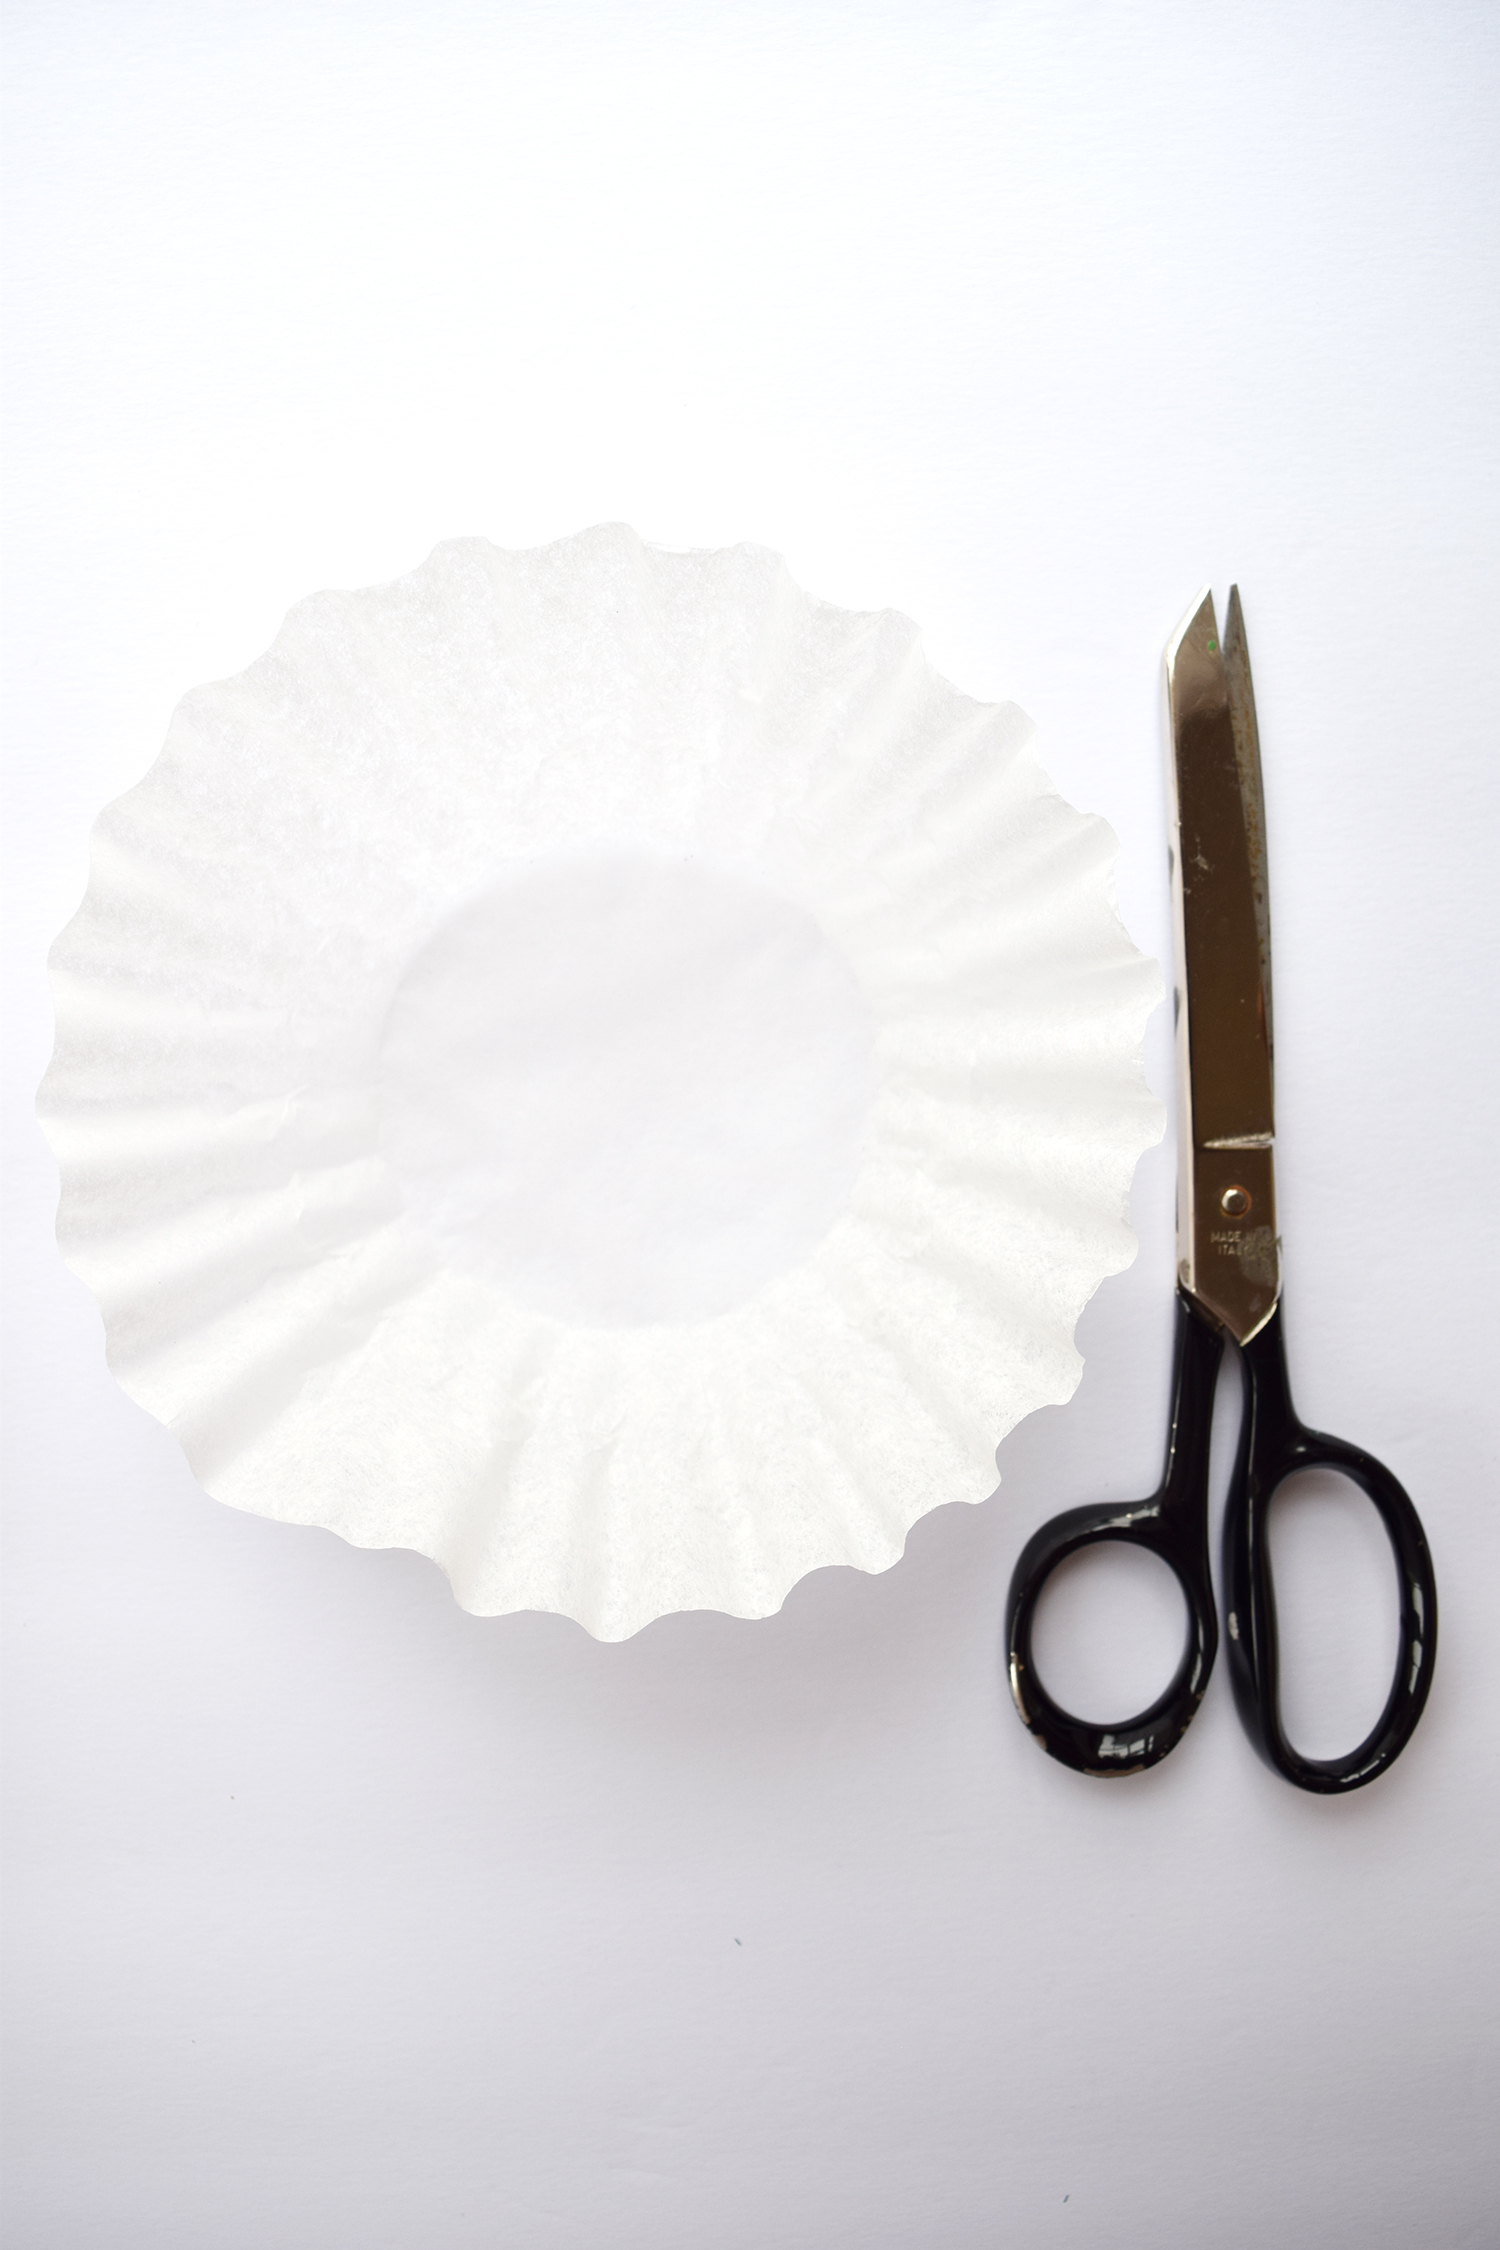
1 white 8” coffee flitter
Scissors
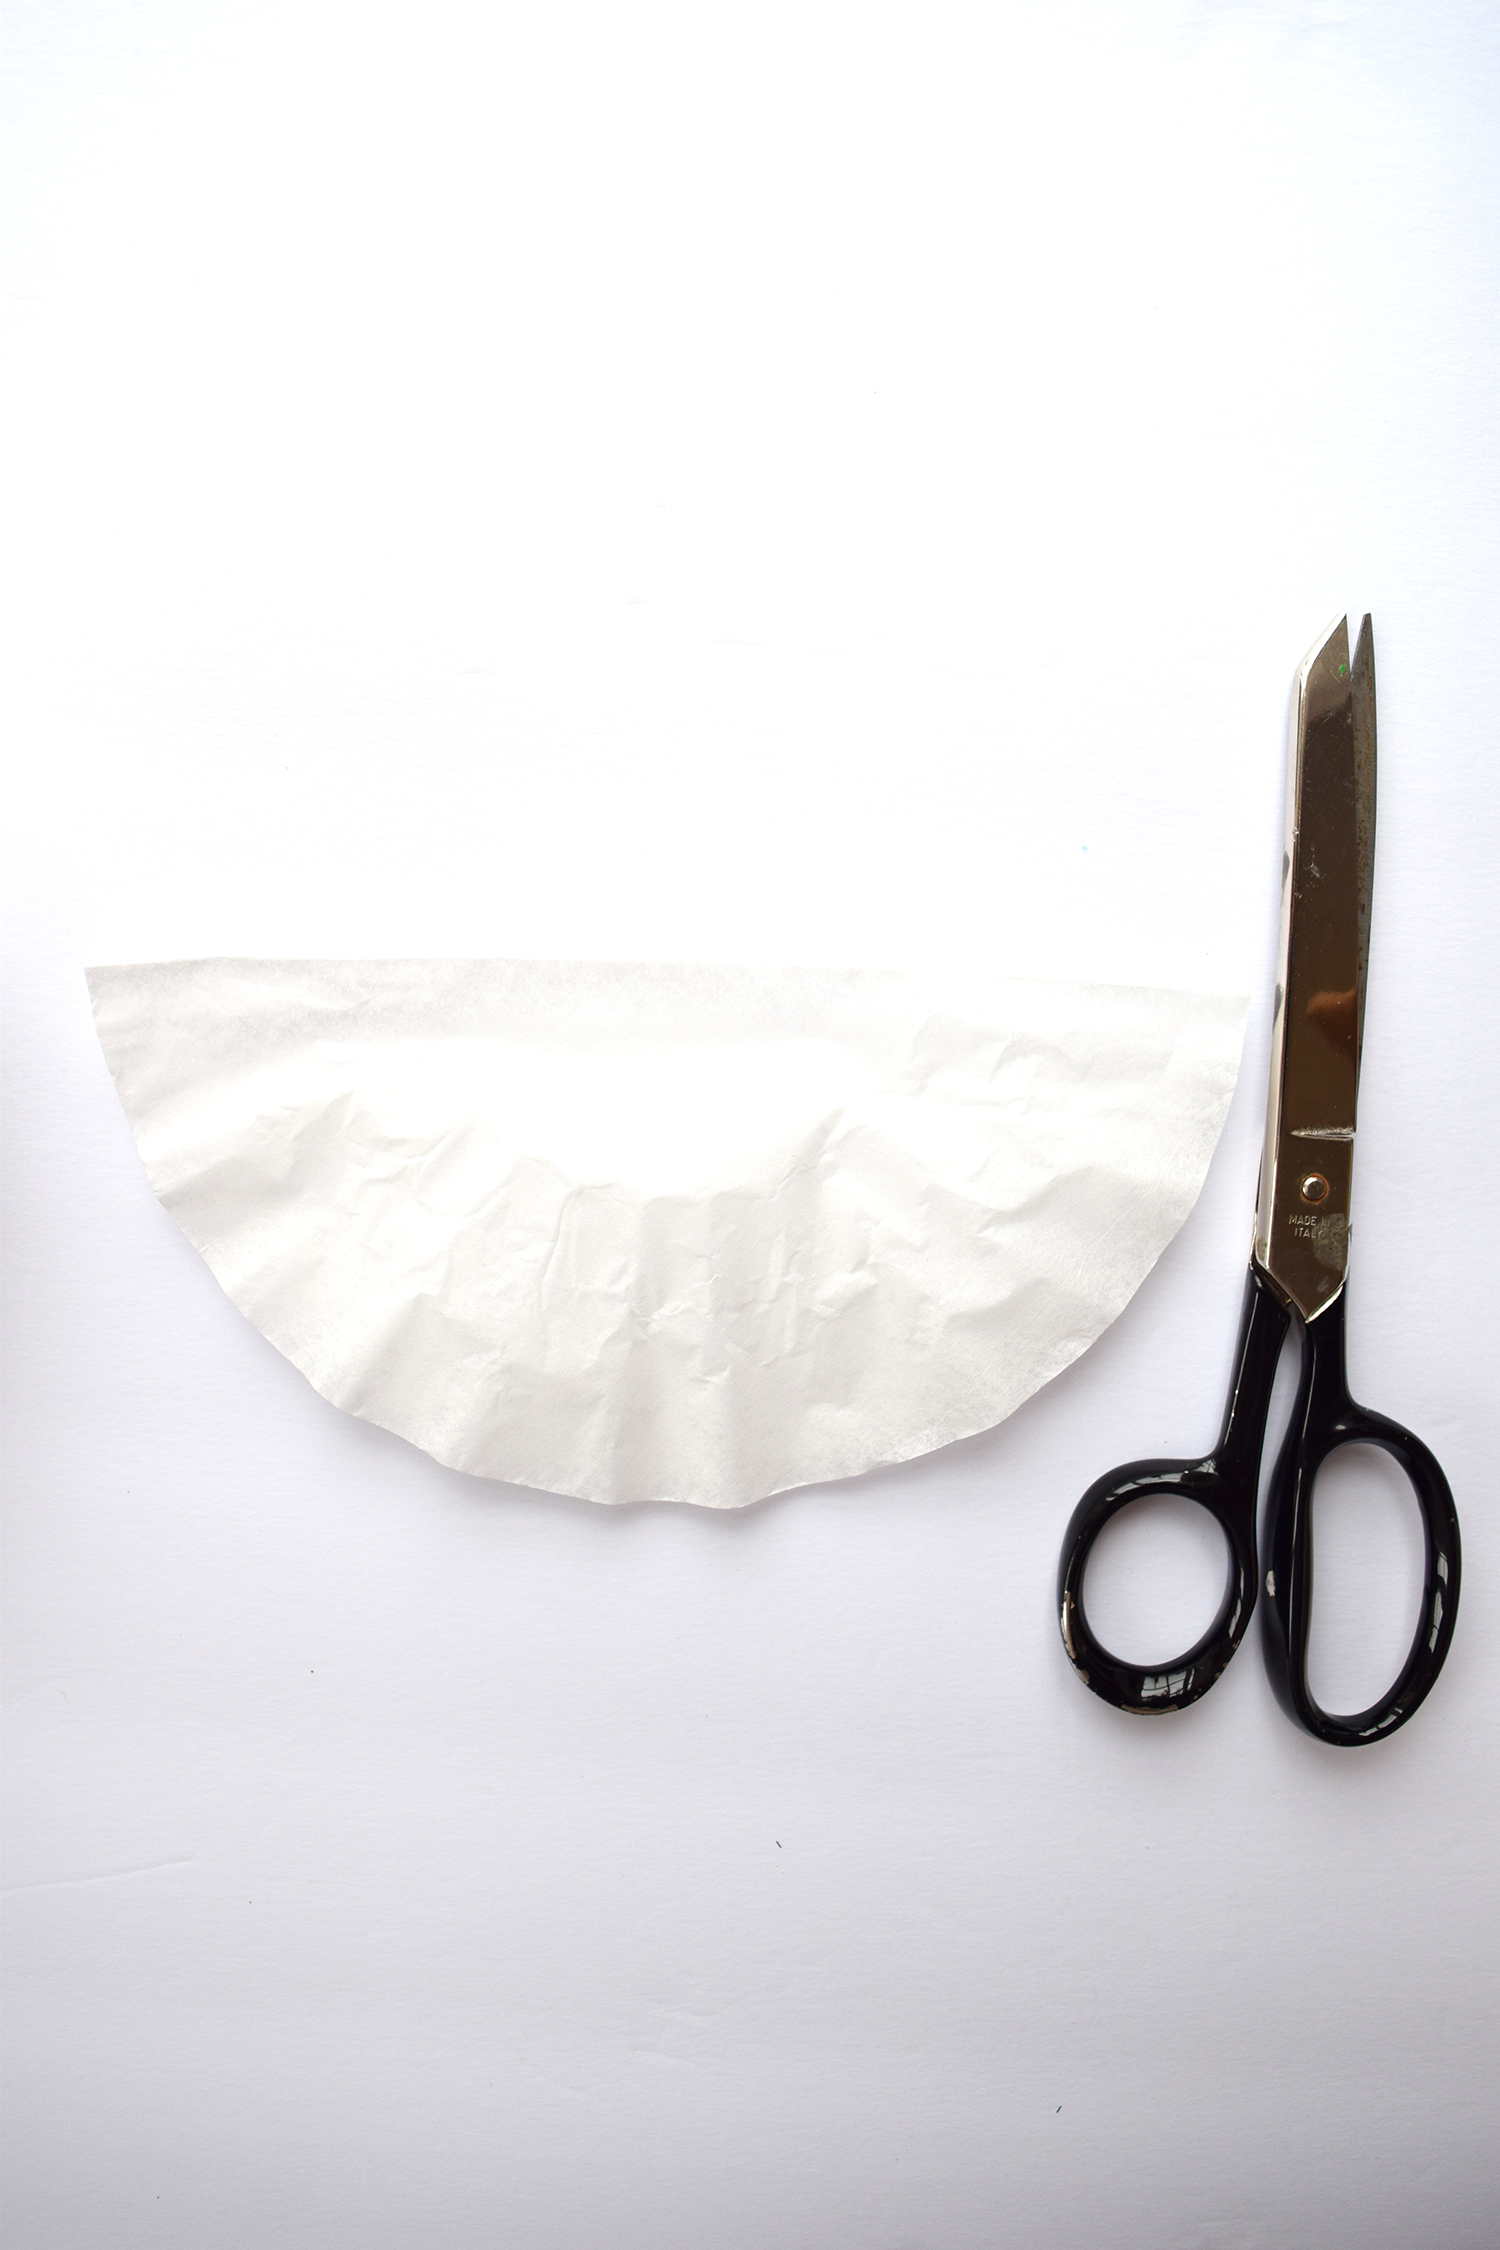
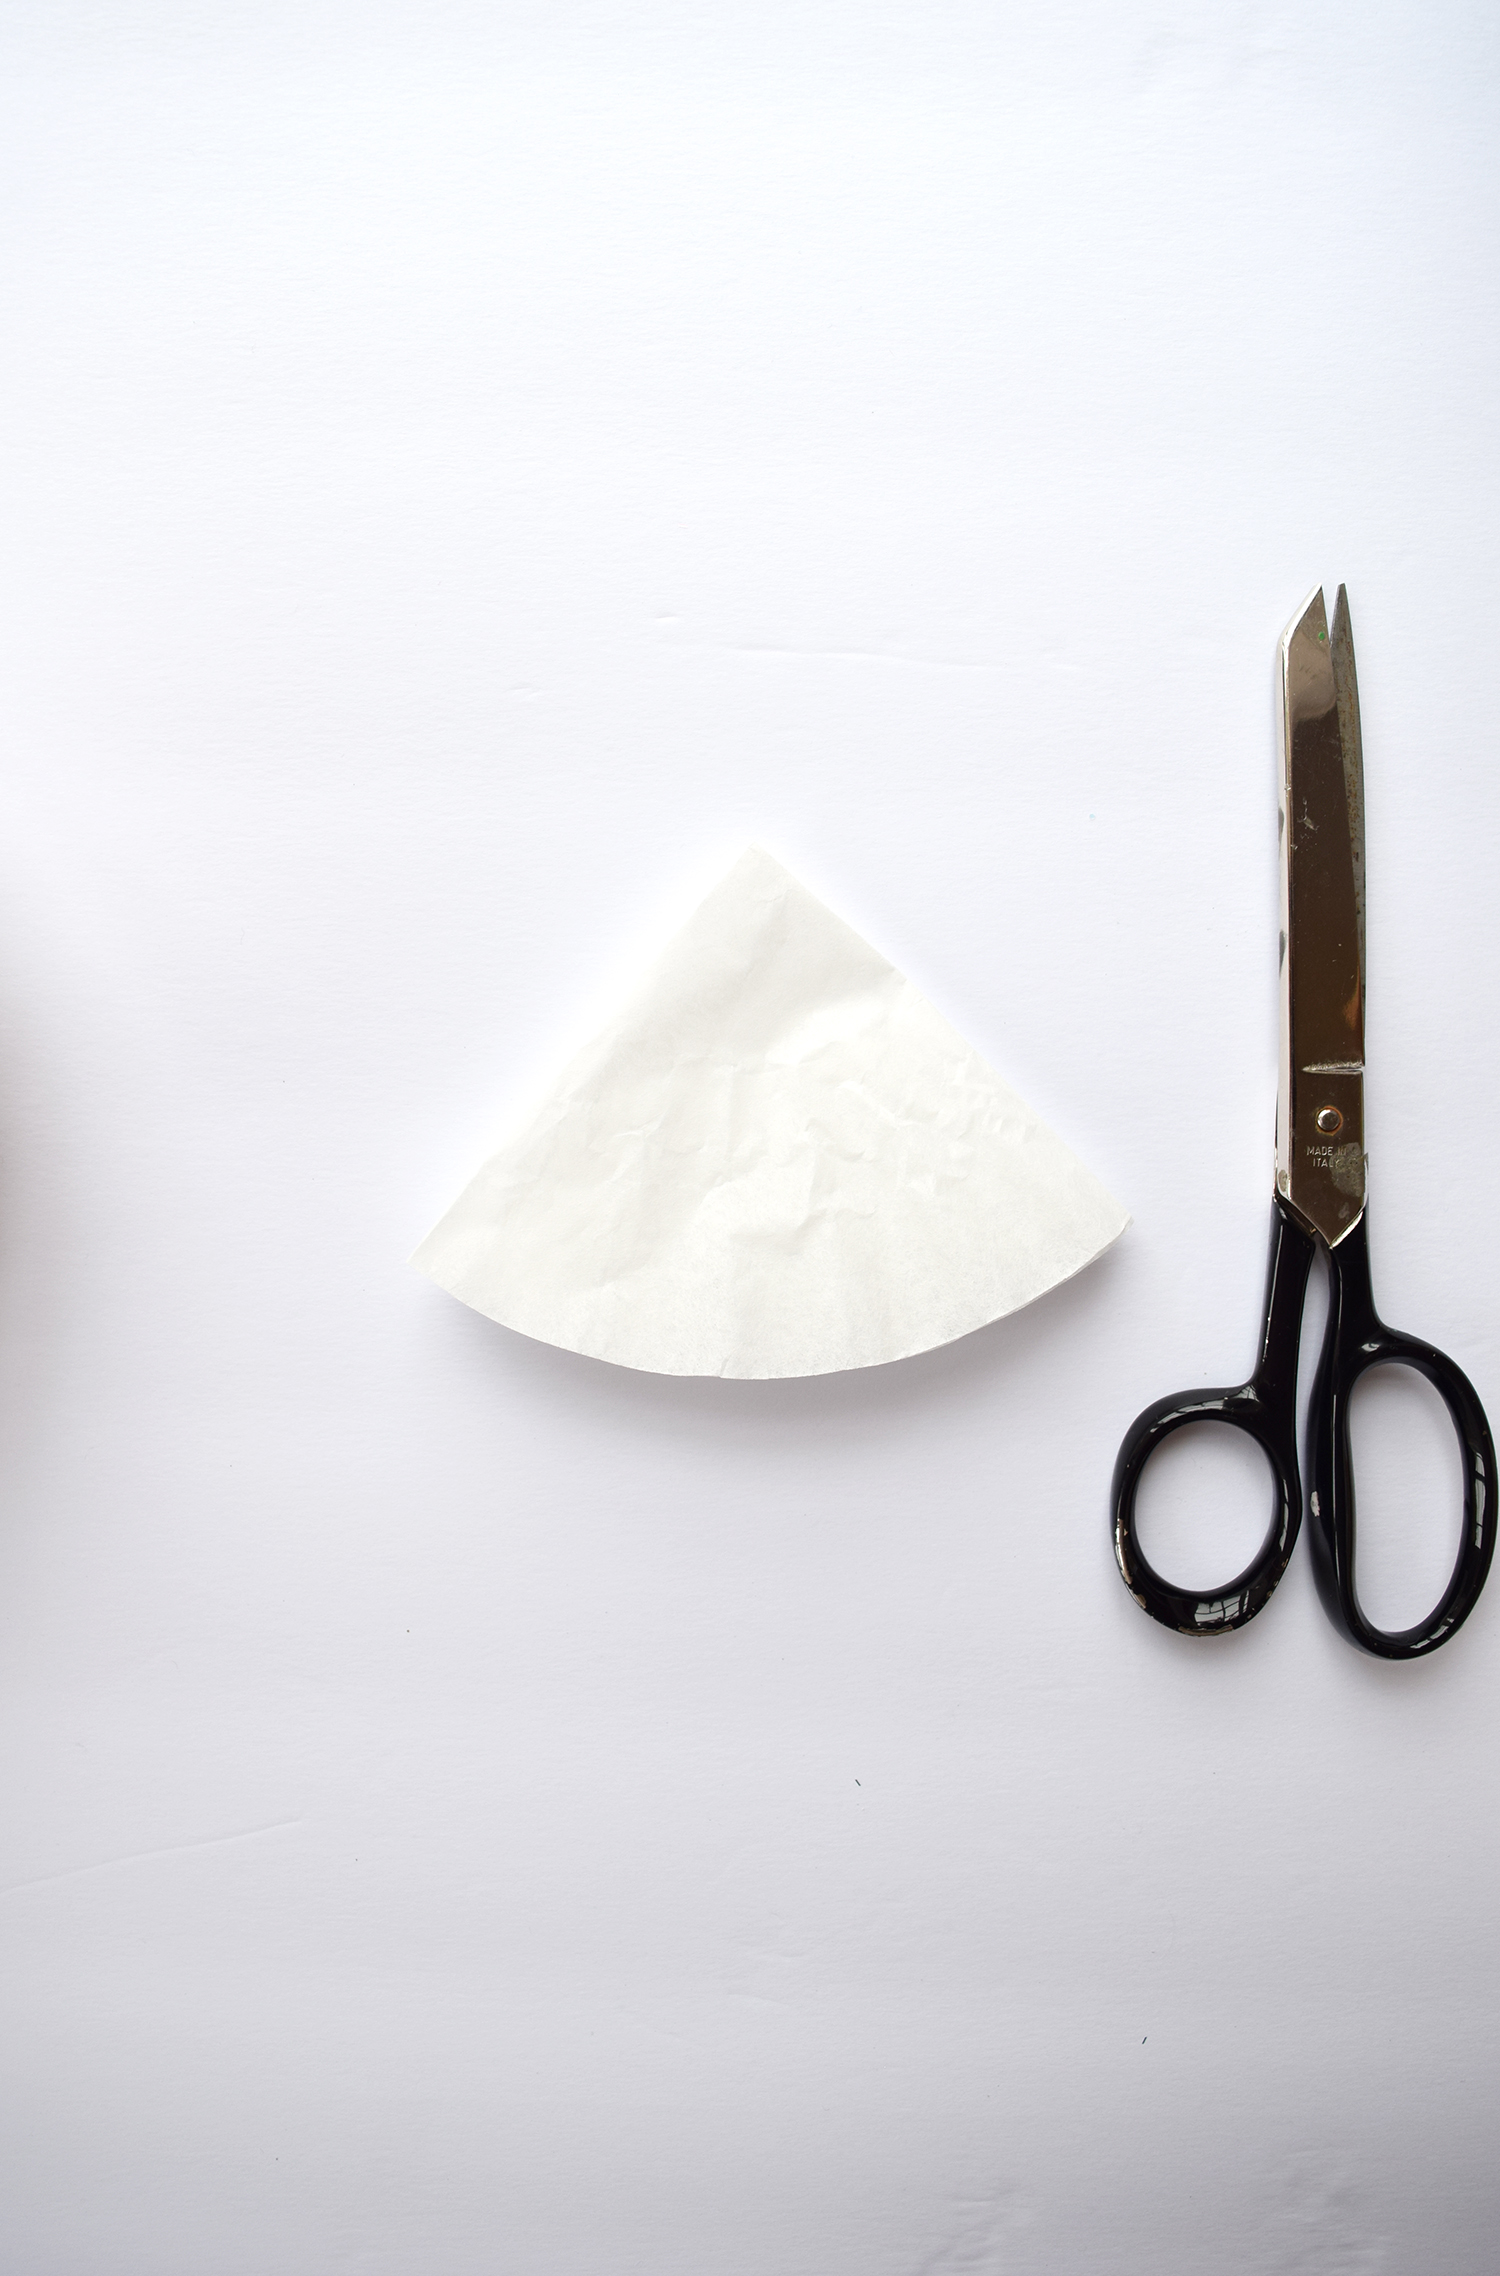
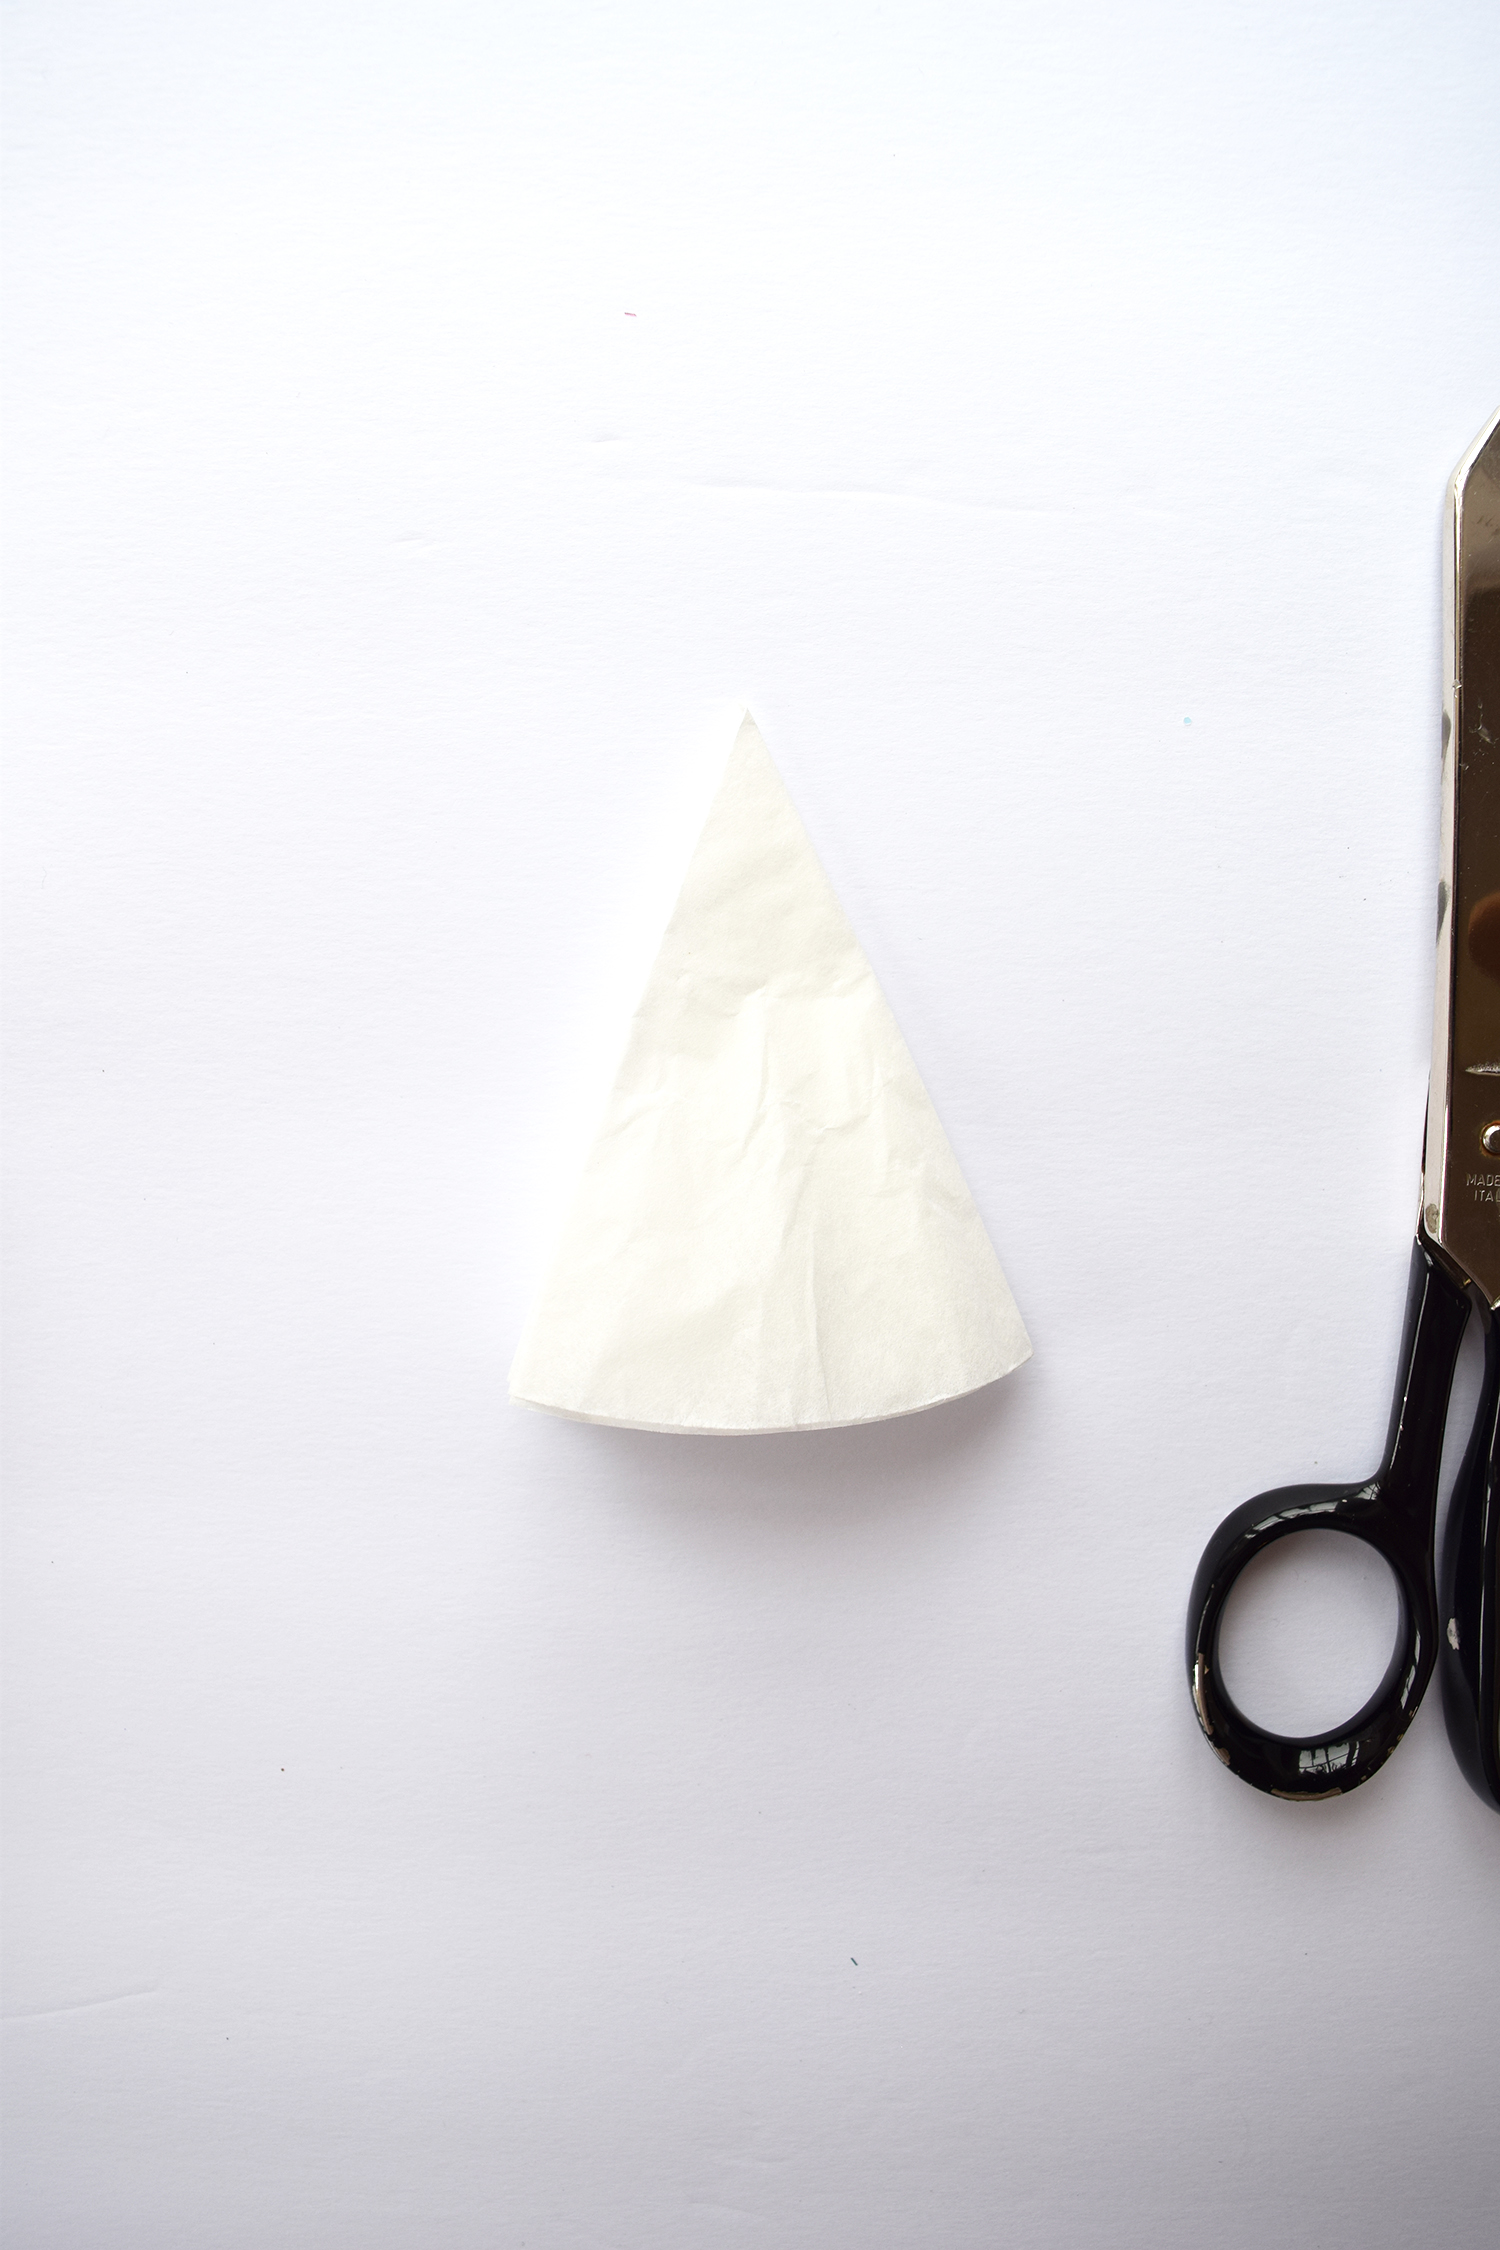
Step 1: Fold the coffee filter in half, and then keep folding 4 more times.
Step 2: While the coffee filter is folded, cut into and cut out small shapes from the coffee filter.


Step 3: Unfold and admire your one-of-a-kind snowflake. Use it to decorate the top of a gift. Maybe make a few more and create some festive garland to hang on the mantle? The possibilities are more endless than the effort needed to see a polar bear in a snowstorm!


My now 20-year-old nephew's snowflake popsicle ornament still hangs from the tree. He was just four or five years old when he gifted it to me wrapped in soft little green tissue paper and sprinkled white faux snow.
There is just something so special about snowflakes. They are so simple, so complicated and give so much over time.
Until tomorrow friends!


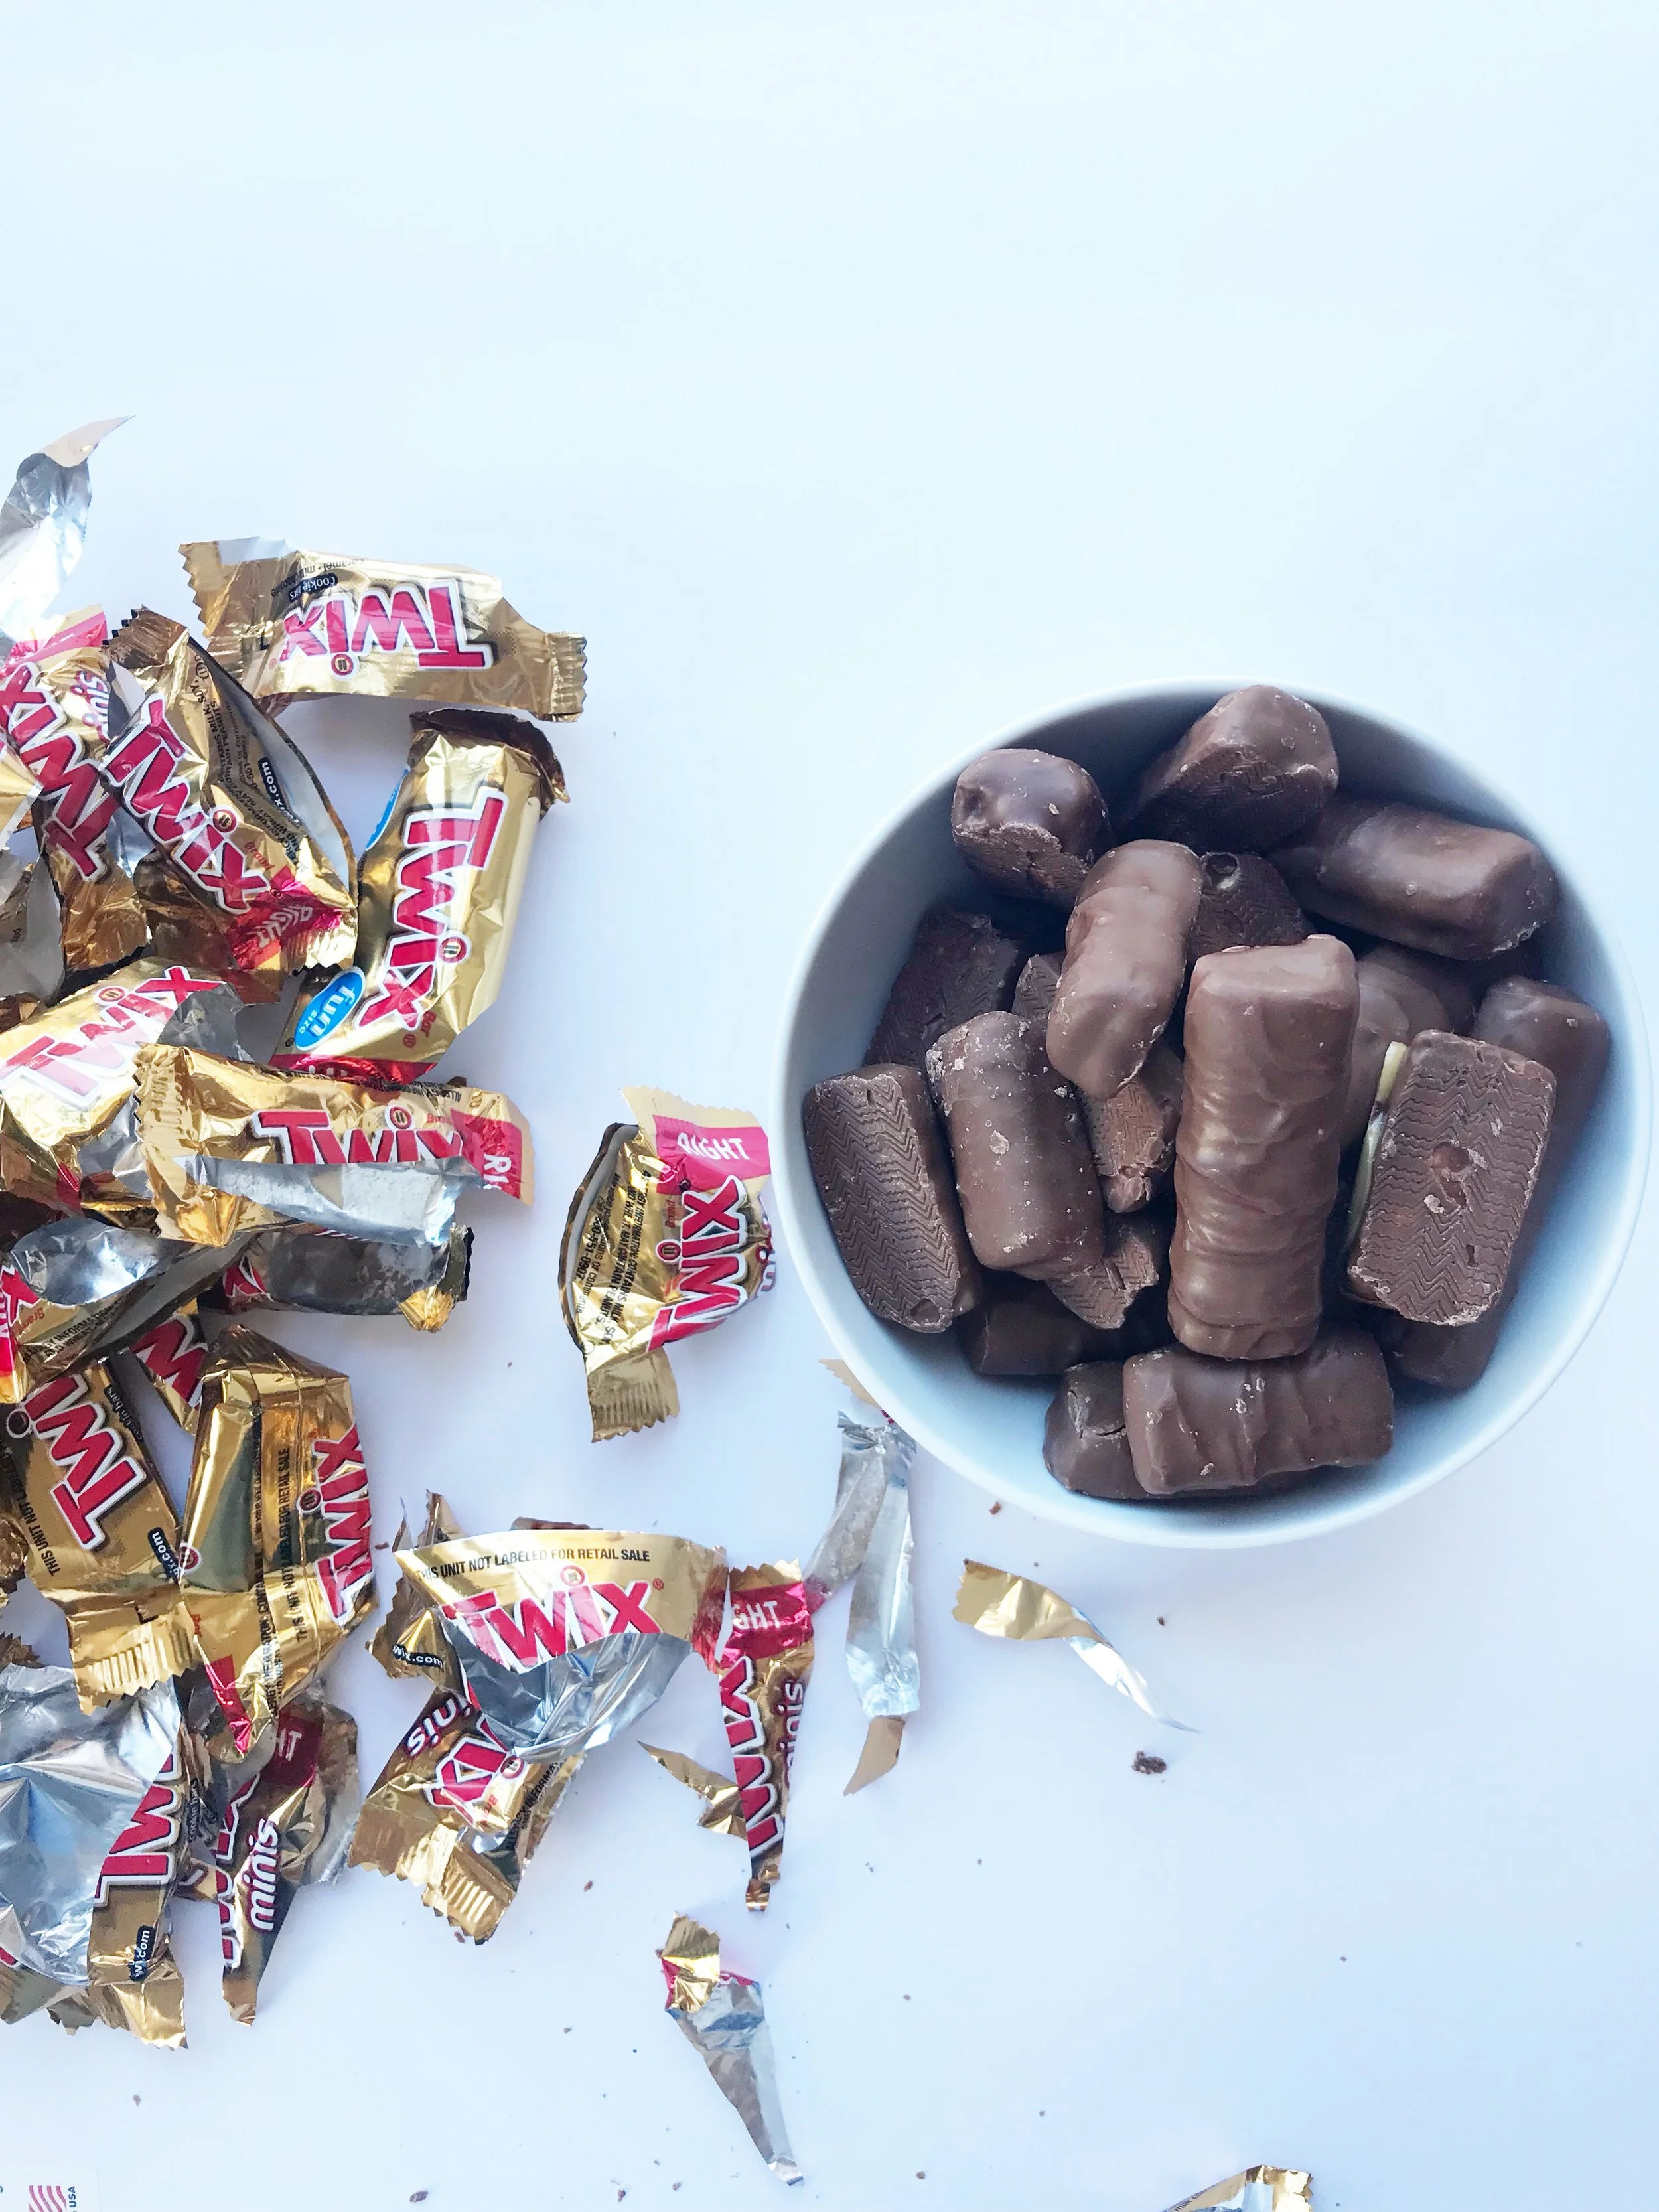


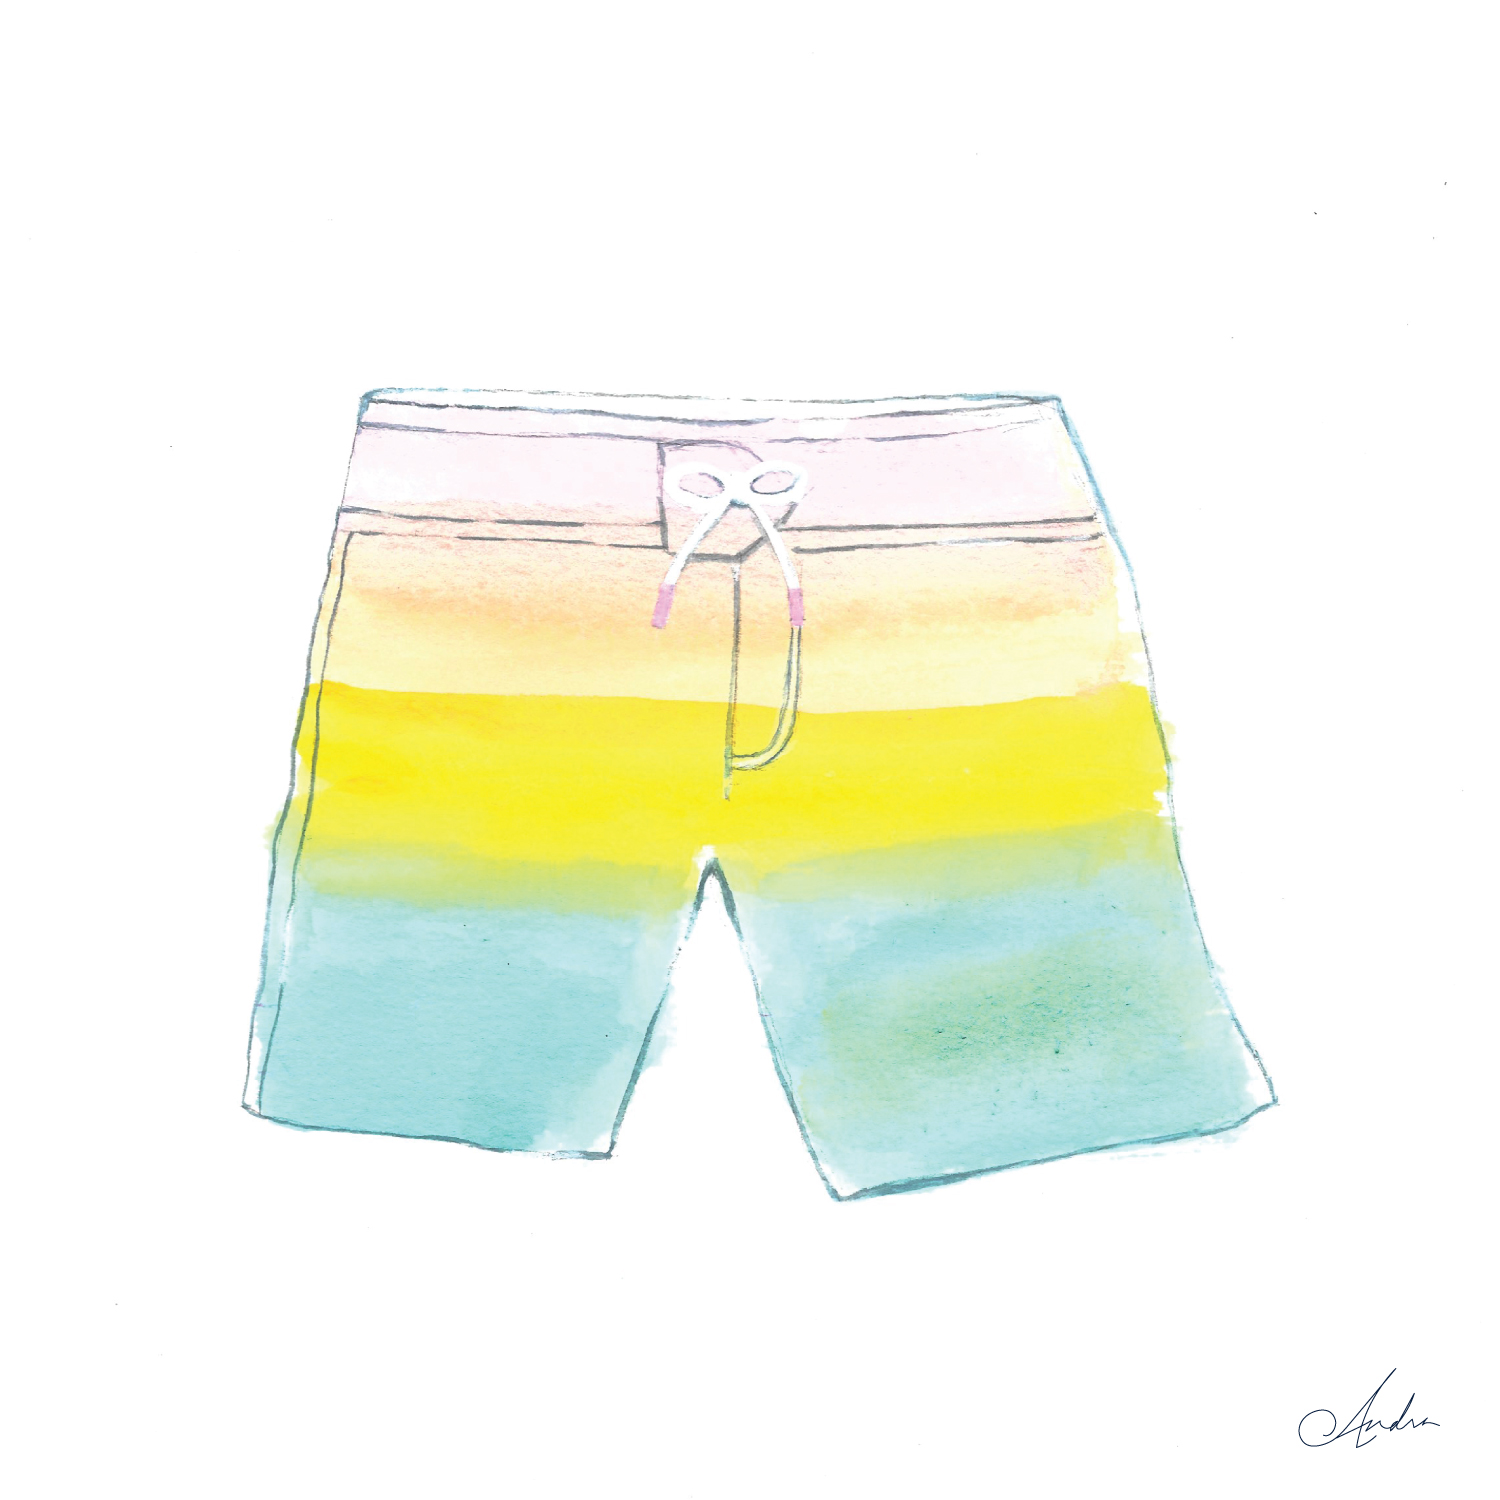


Summer Time Calls For The Perfect Dessert.