Design & Creative Development
awc_logo_2023_create_change.jpg

Create & Change

Posts in September
Day 265 - The Old Of It.

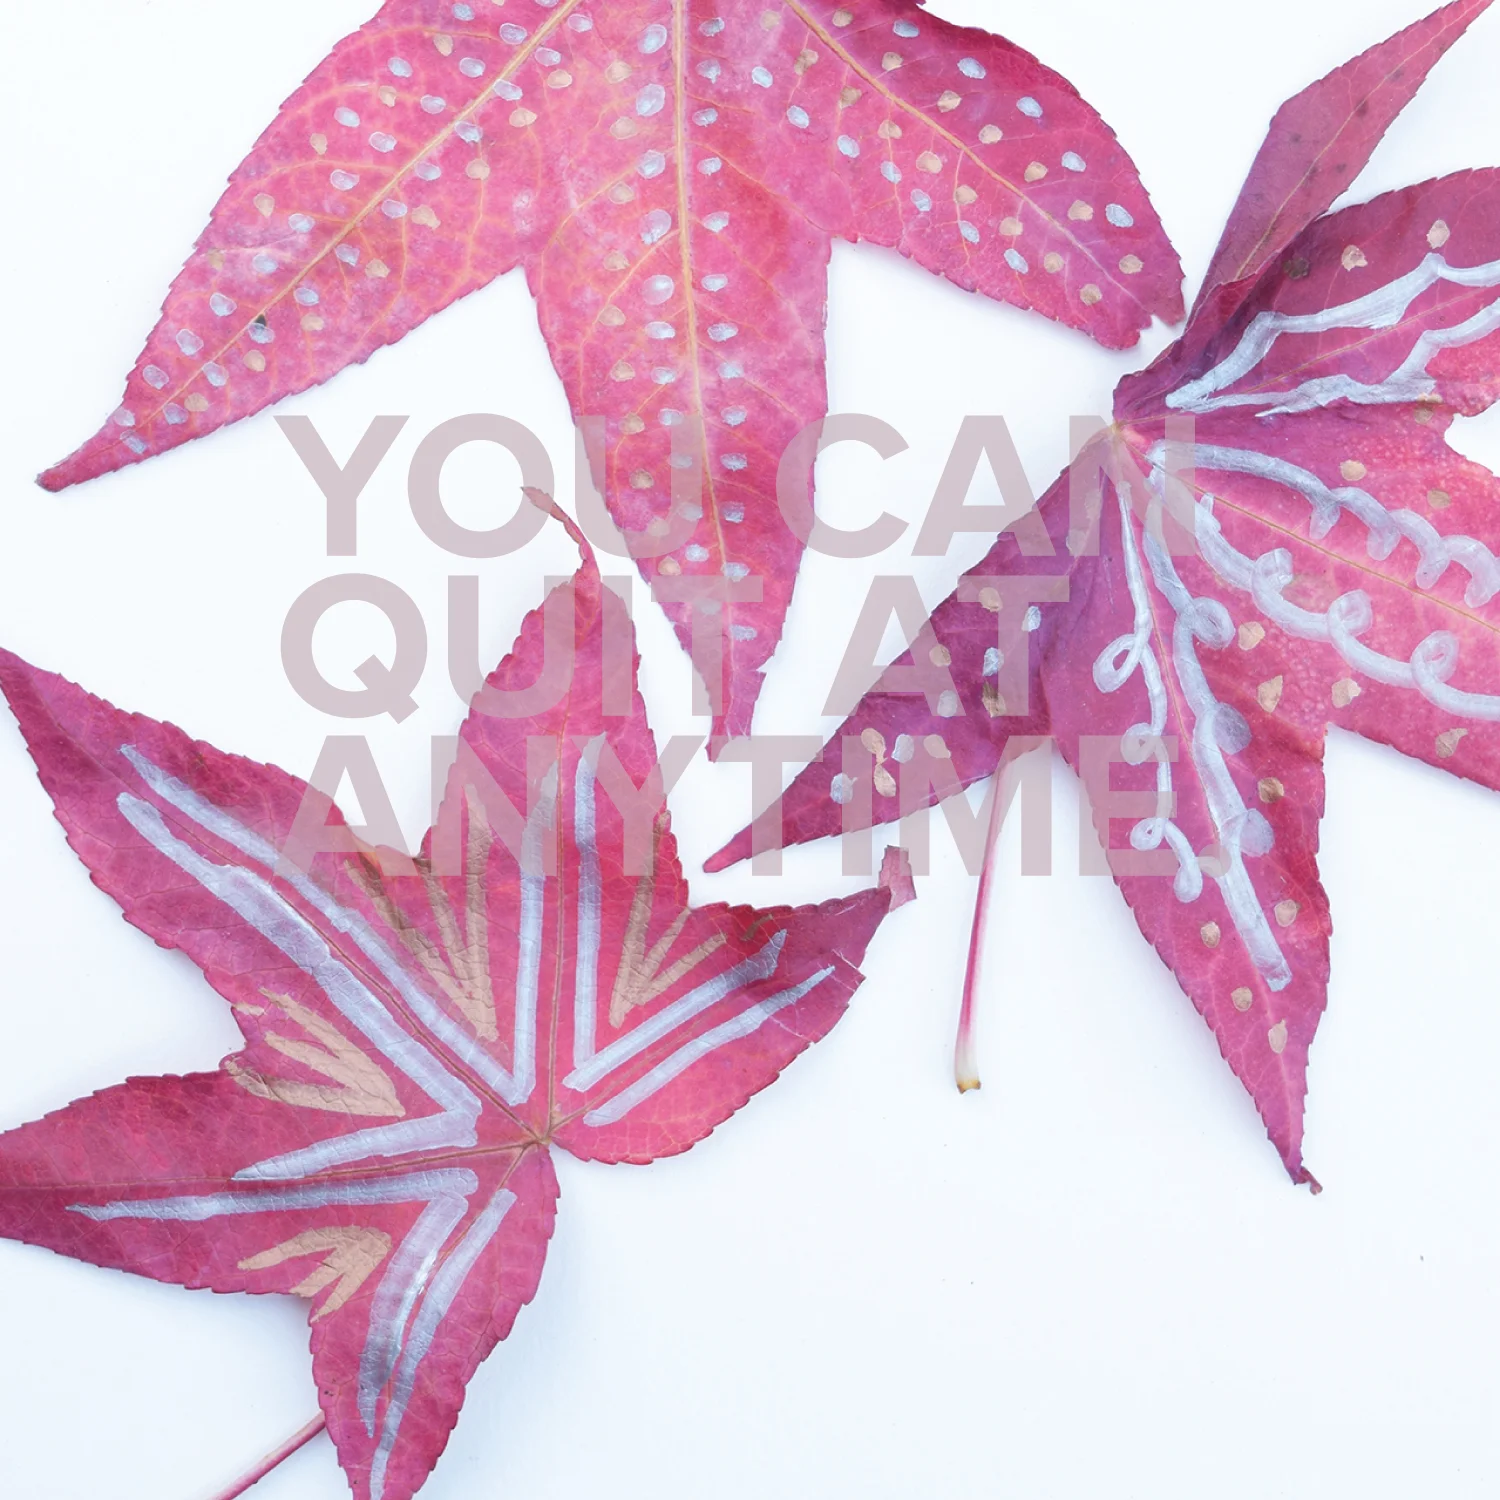
Oh, it's Tuesday and honestly who here is feeling particularly creative today? No, me neither. Sometimes our creative energy get's tapped out. This is when we need to look to others to find our way to the future.

Someone asked me yesterday the following "If you had to carry one book around for the rest of your life, it would be _______, because ________." This seems like an unfair question. How do you pick? It's like trying to pick a favorite pet. They were all loved in a special way and all are uniquely important.

At first, the question stumped me. I used my mind rolodex to review all the books read in my lifetime. None of the books seemed worthy to be placed in a category of timeless, classic and perfect. Next, I perused my desk where book spines are lined up one by one like balancing dominos. They all churned up ancient feelings and memories. Each were old friends that marked a time and space that no longer exists.

There were the travel books collected for adventuring and exploring to far flung countries. Art history books that brought back memories of studying art in dusty halls, the musty scent still memorable. There were cookbooks full of hopeful experiences and splattered pages of failed experiments. There were the long string of business books filled with gurus that seemed to know the path. The design books that solidified the notion design can solve problems and bring change to the world.

There, however was one book at the bottom of the pile, in the back of the garage, in a box that I have carried around with me for most of my life.

My dad came home one day from work, it might have been the summertime. The days were long living on the end of nowhere. I read a lot in my bedroom, lying next to the air condition grate as the summer heat beat outside. I was nine or ten years old. He handed me a book. It had a crunchy brown paper cover with serious looking type. I was use to fluffy books such as "The Adventures In Babysitting", so this book looked grown up. My dad convinced me I'd like it even though the cover seemed dry and stuffy. He was right. 

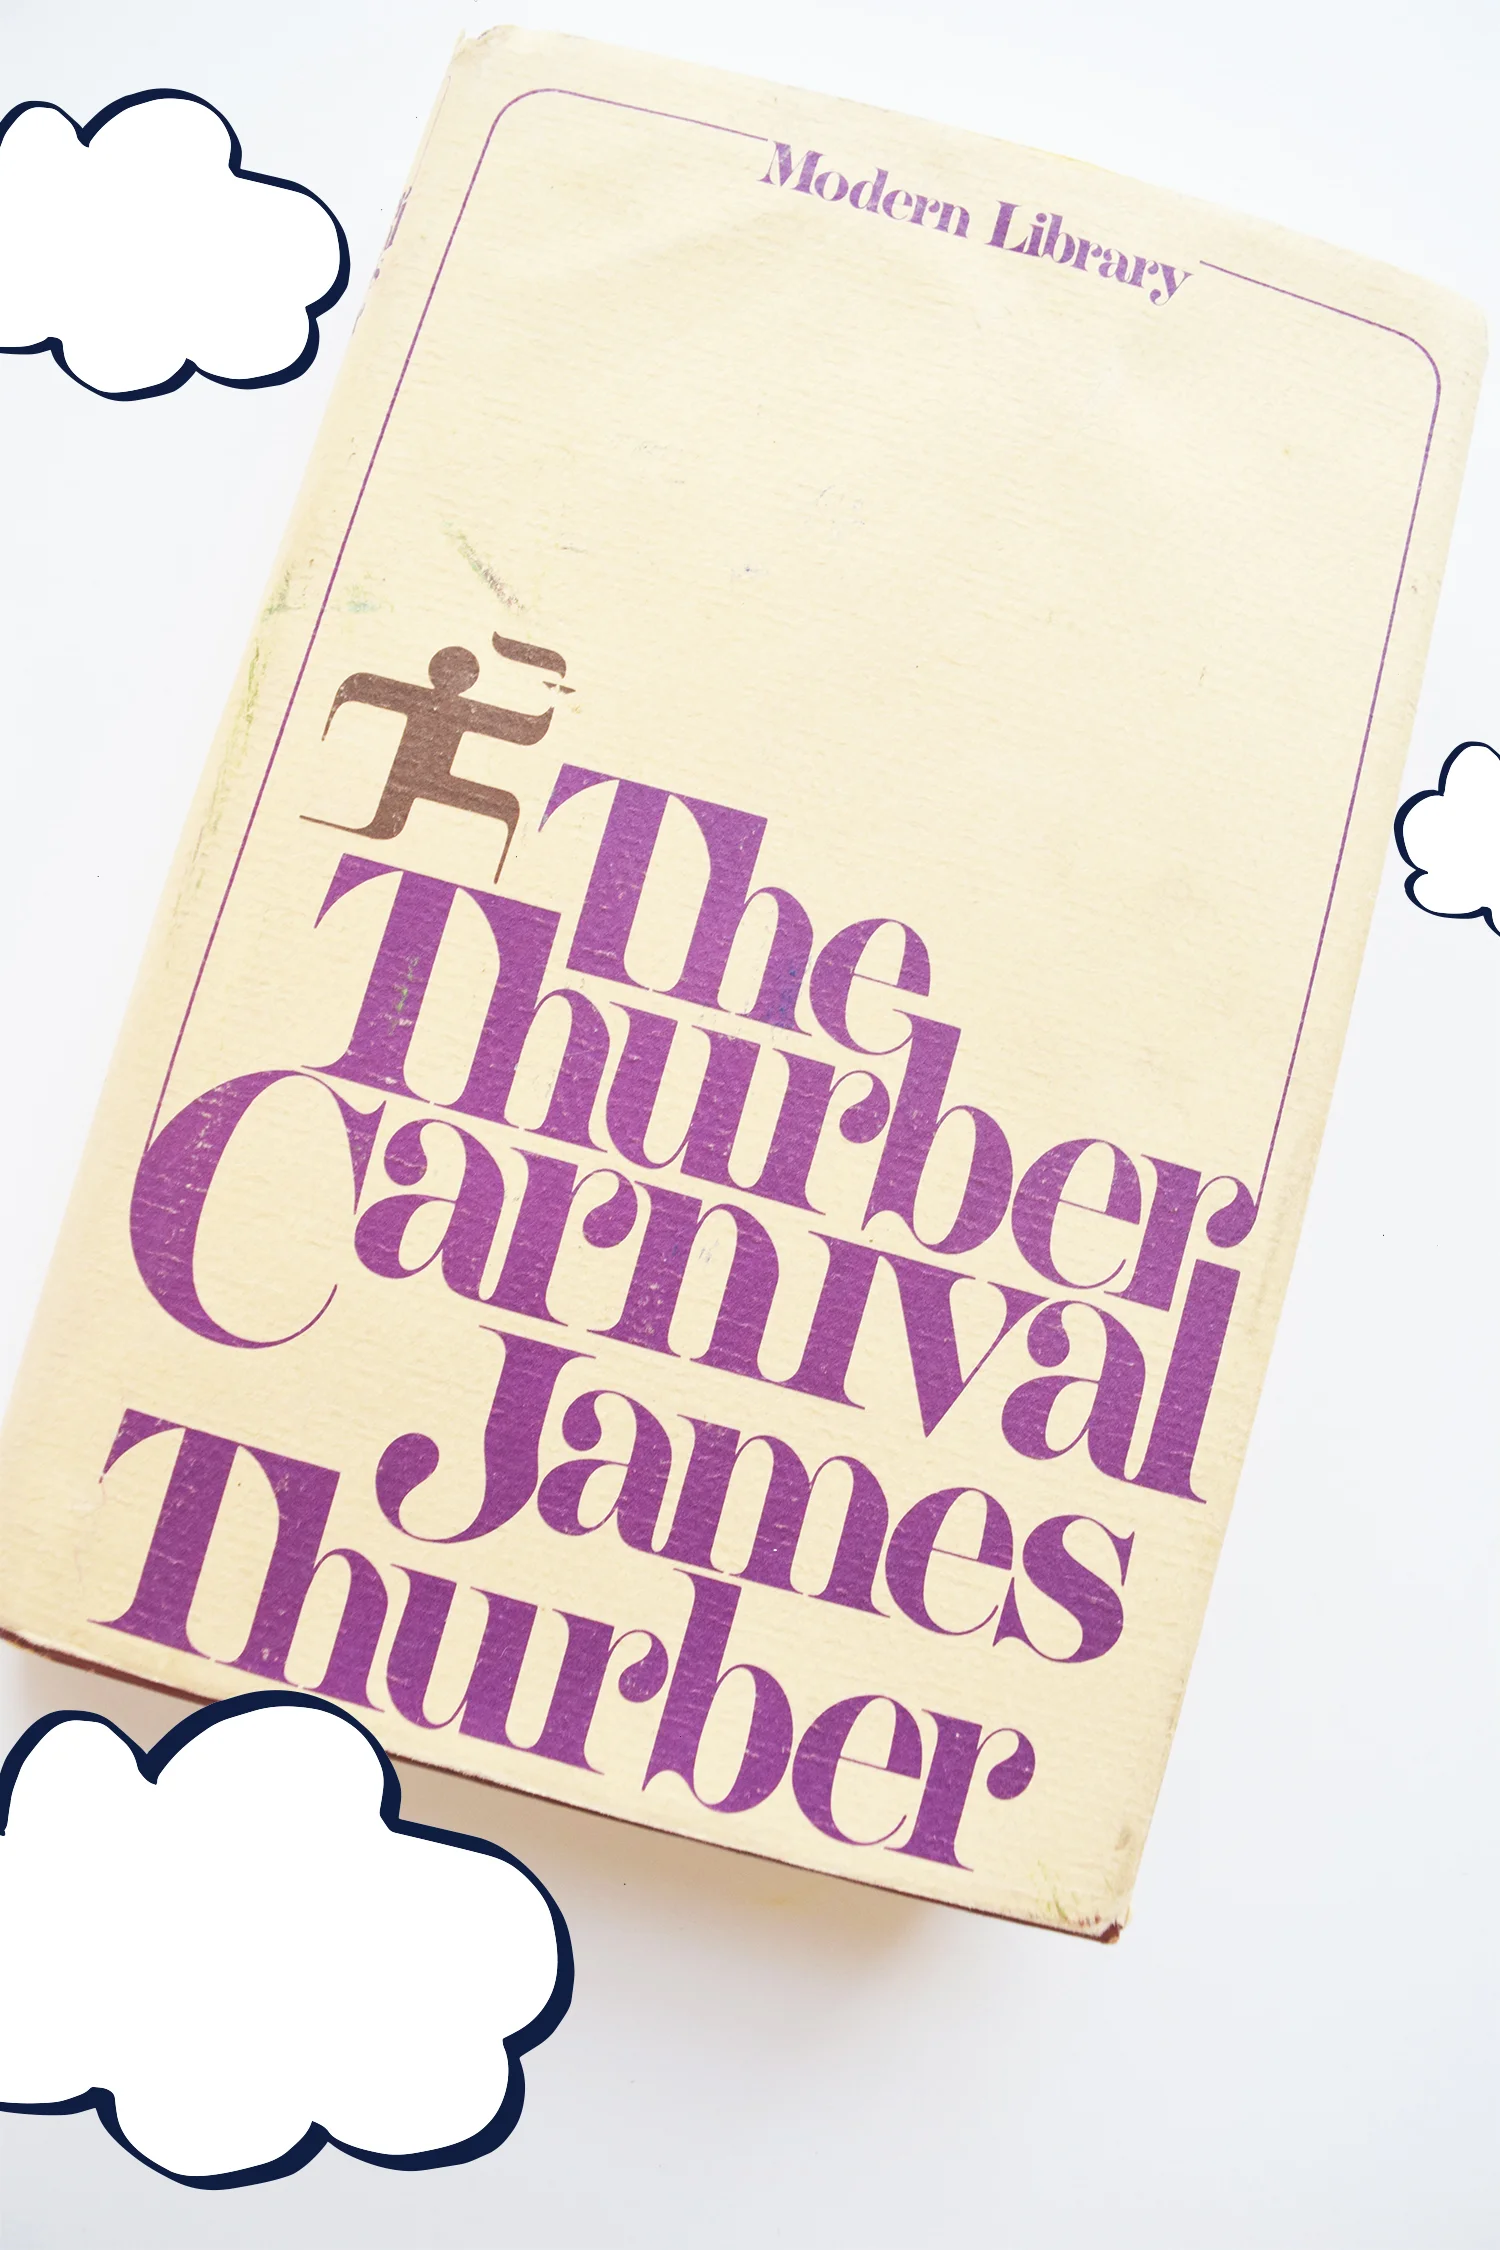
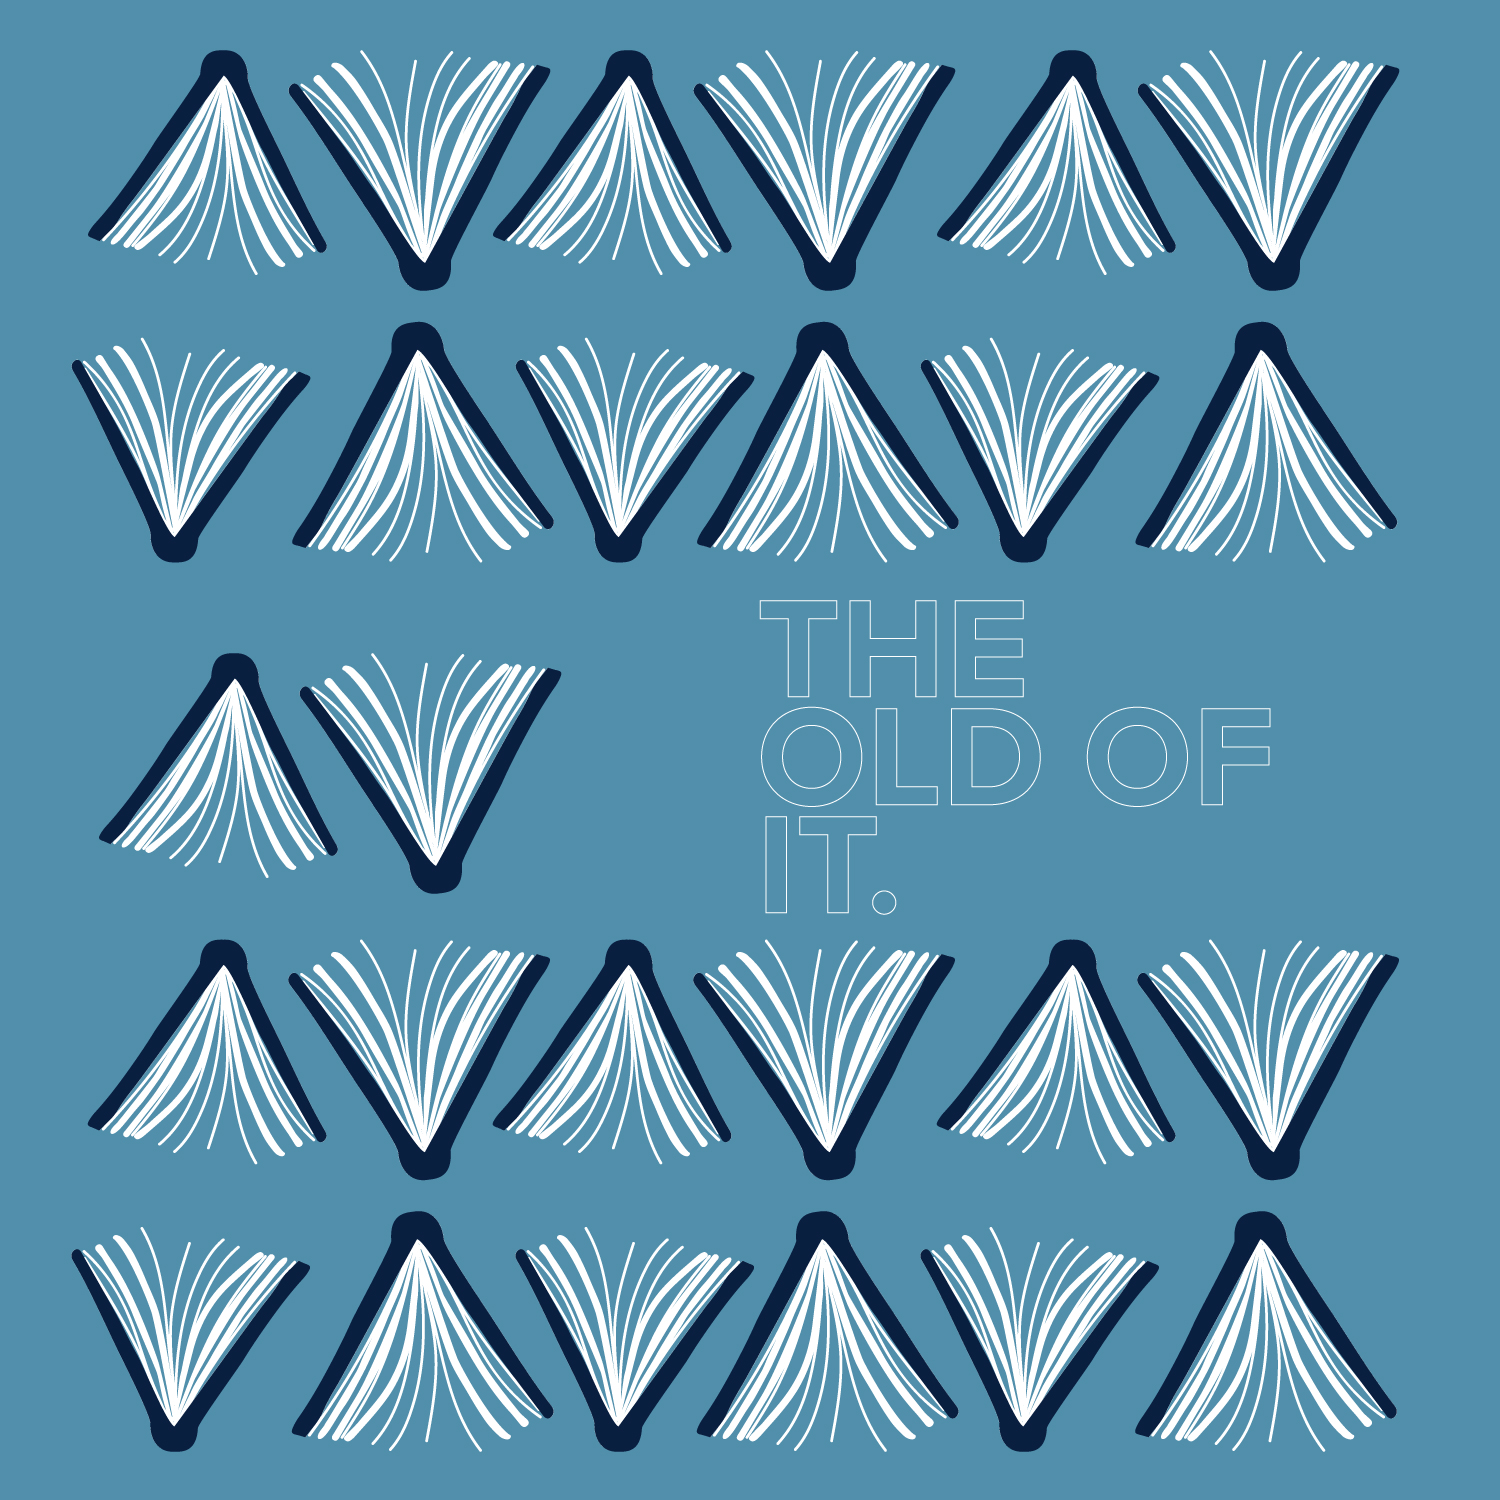
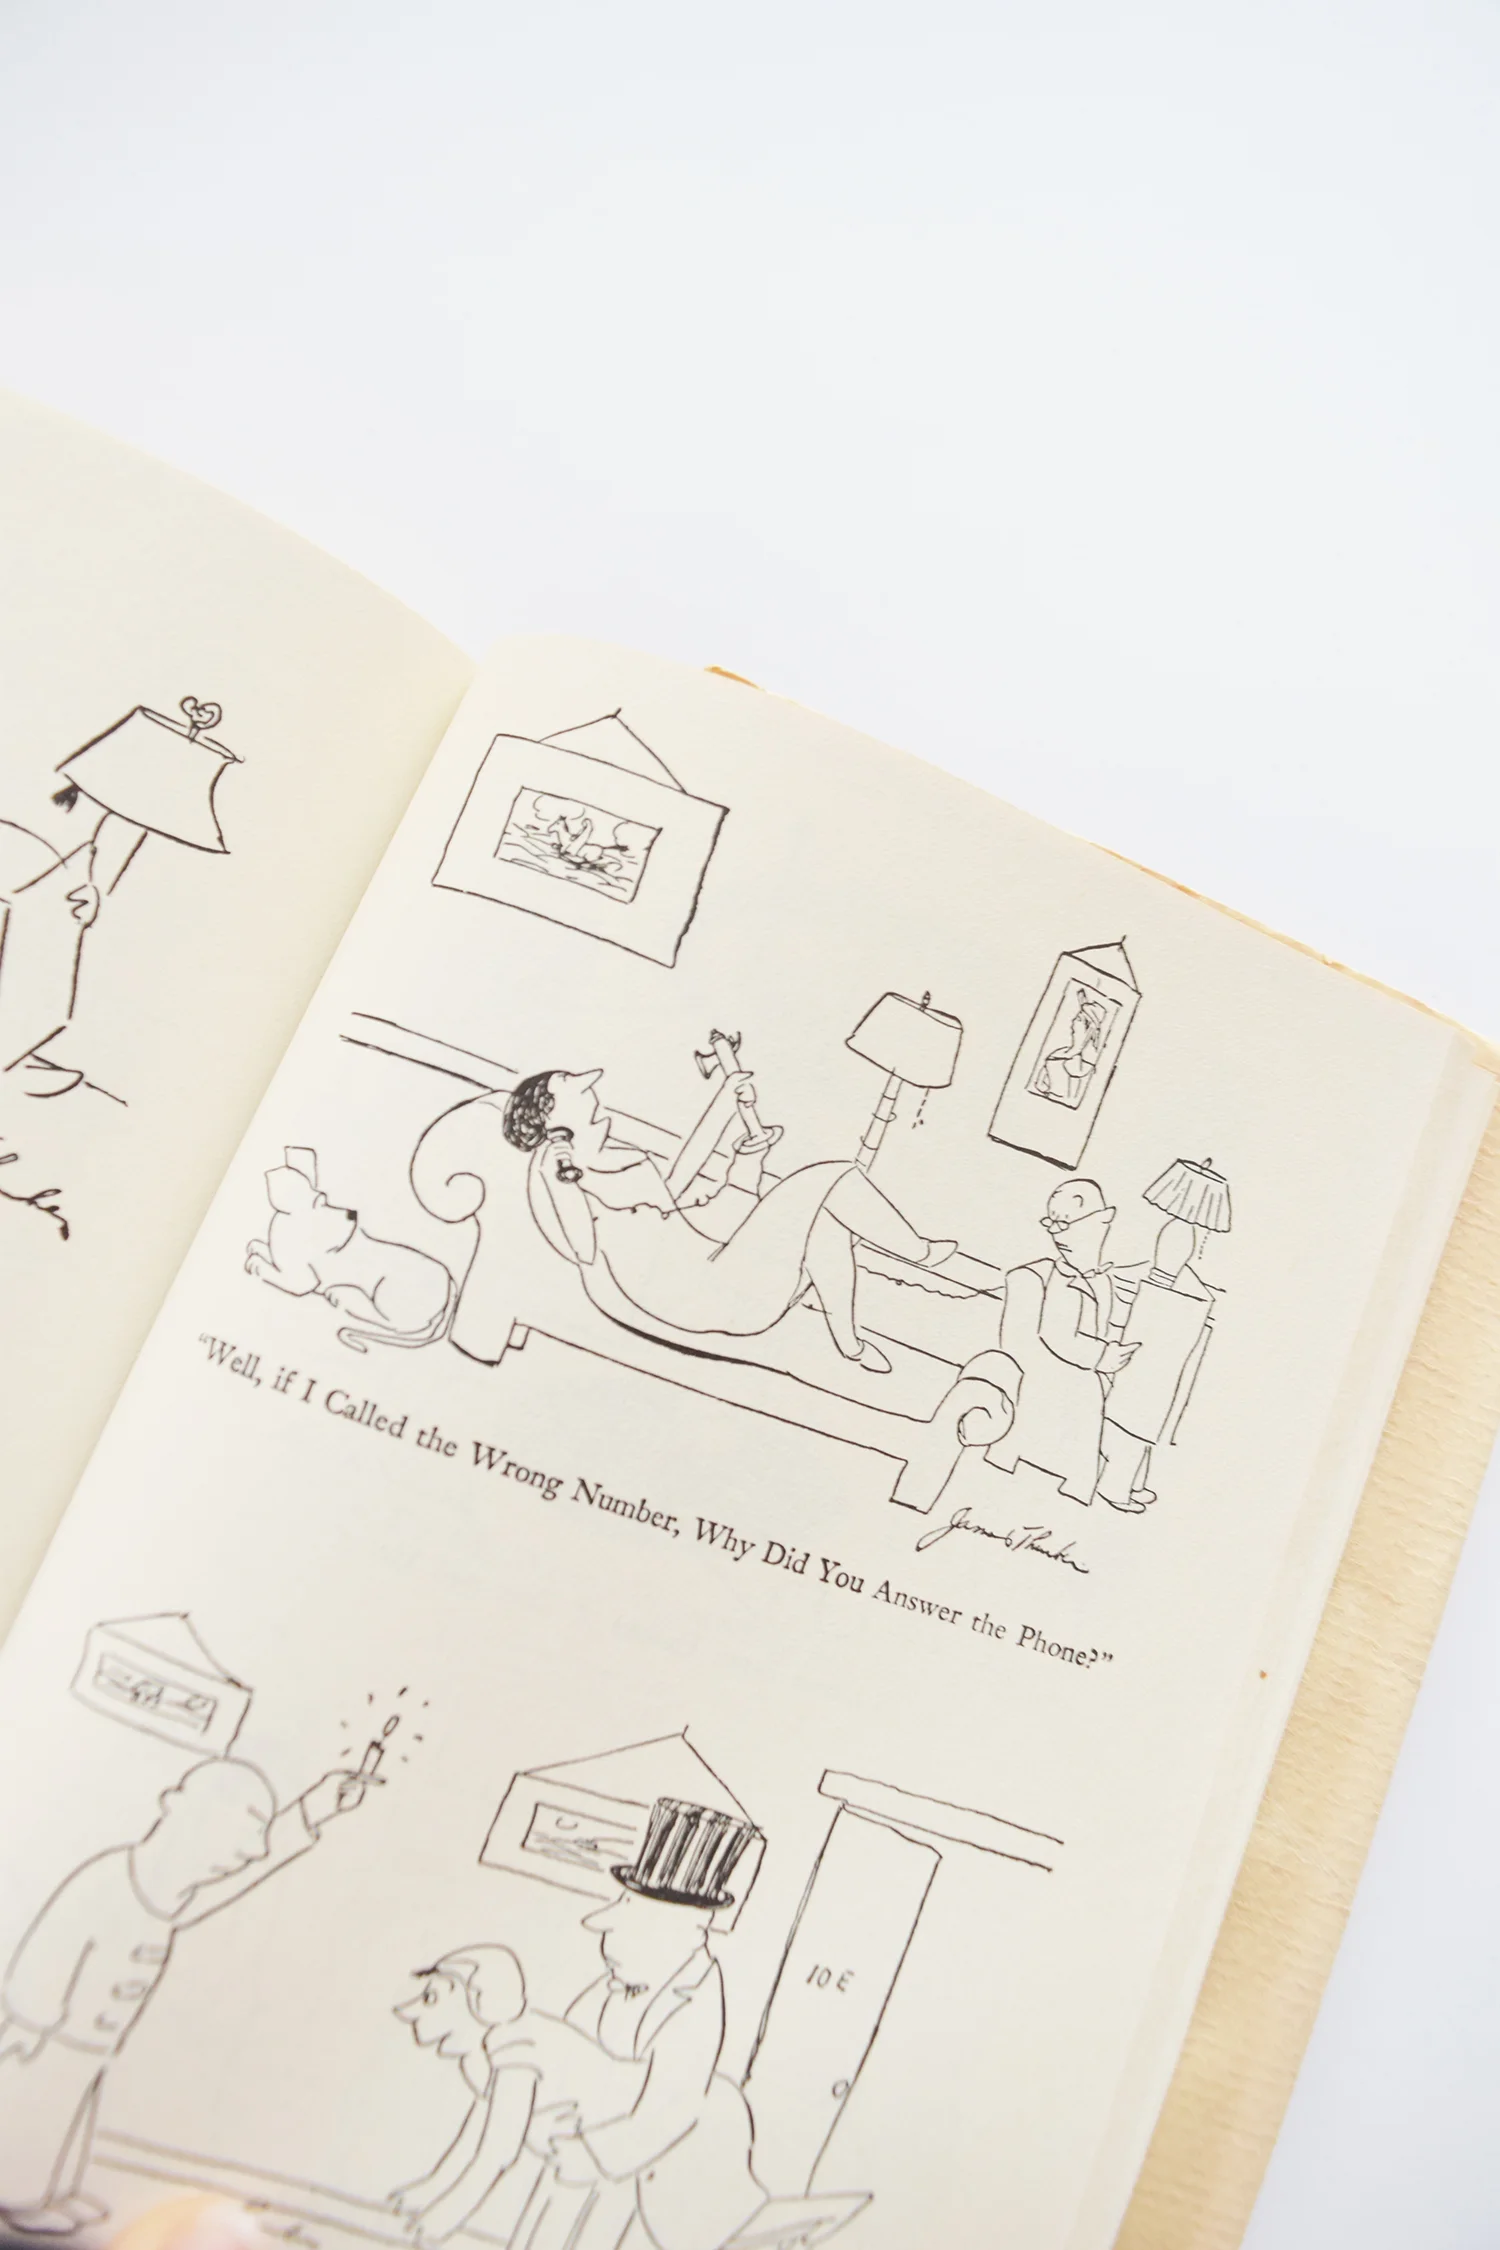
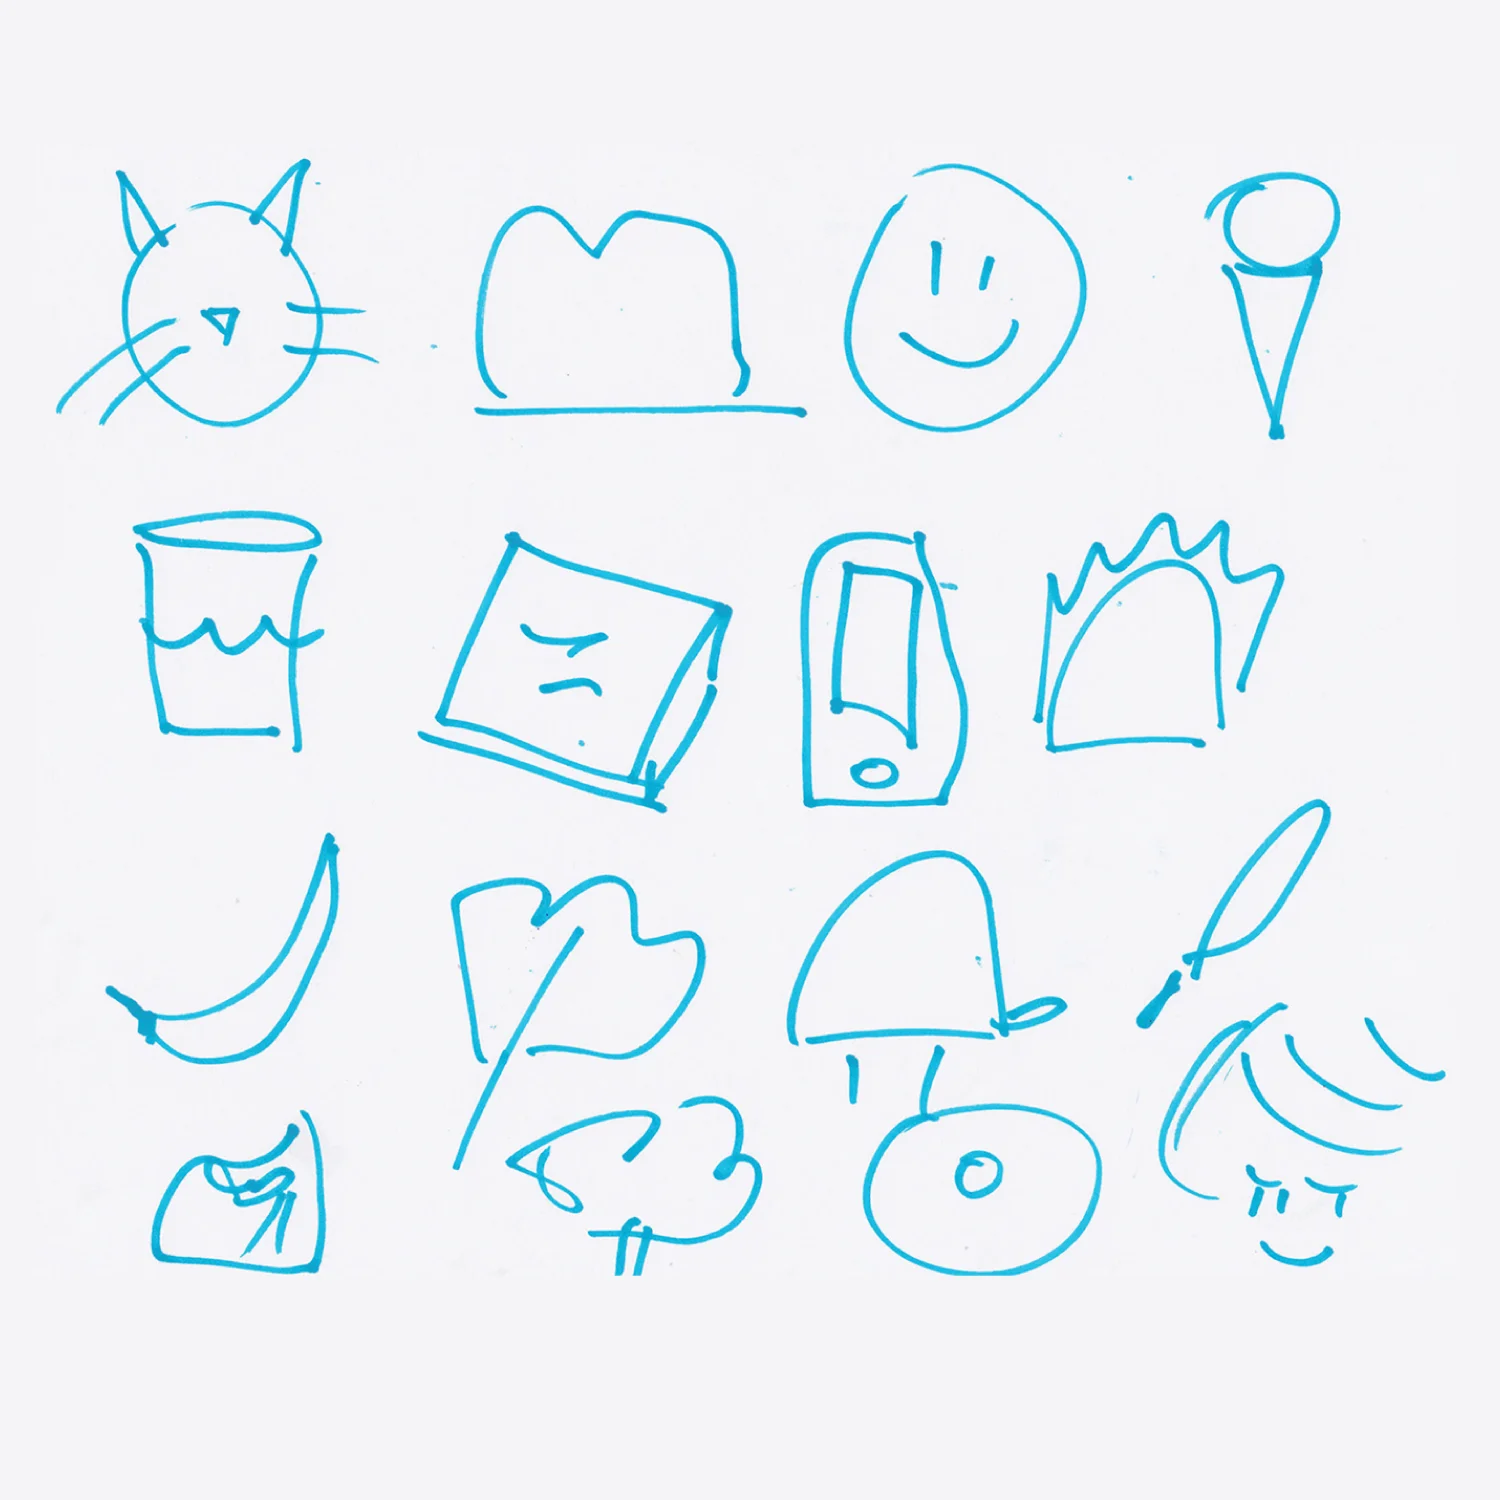
To answer the above question, "If I had to carry one book around for the rest of my life, it would be "The Thurber Carnival" by James Thurber because it taught me creativity has no limits. I pulled out the book today and flipped through the pages. Opening this book stopped me from wondering why I have kept this book through every move and transition. Cracking open the book, I was reminded that Thurber wasn't just a writer. He drew cartoons as well. I still giggled even today at those cartoons. They are timeless, creative and the old of it is, they are perfect. 

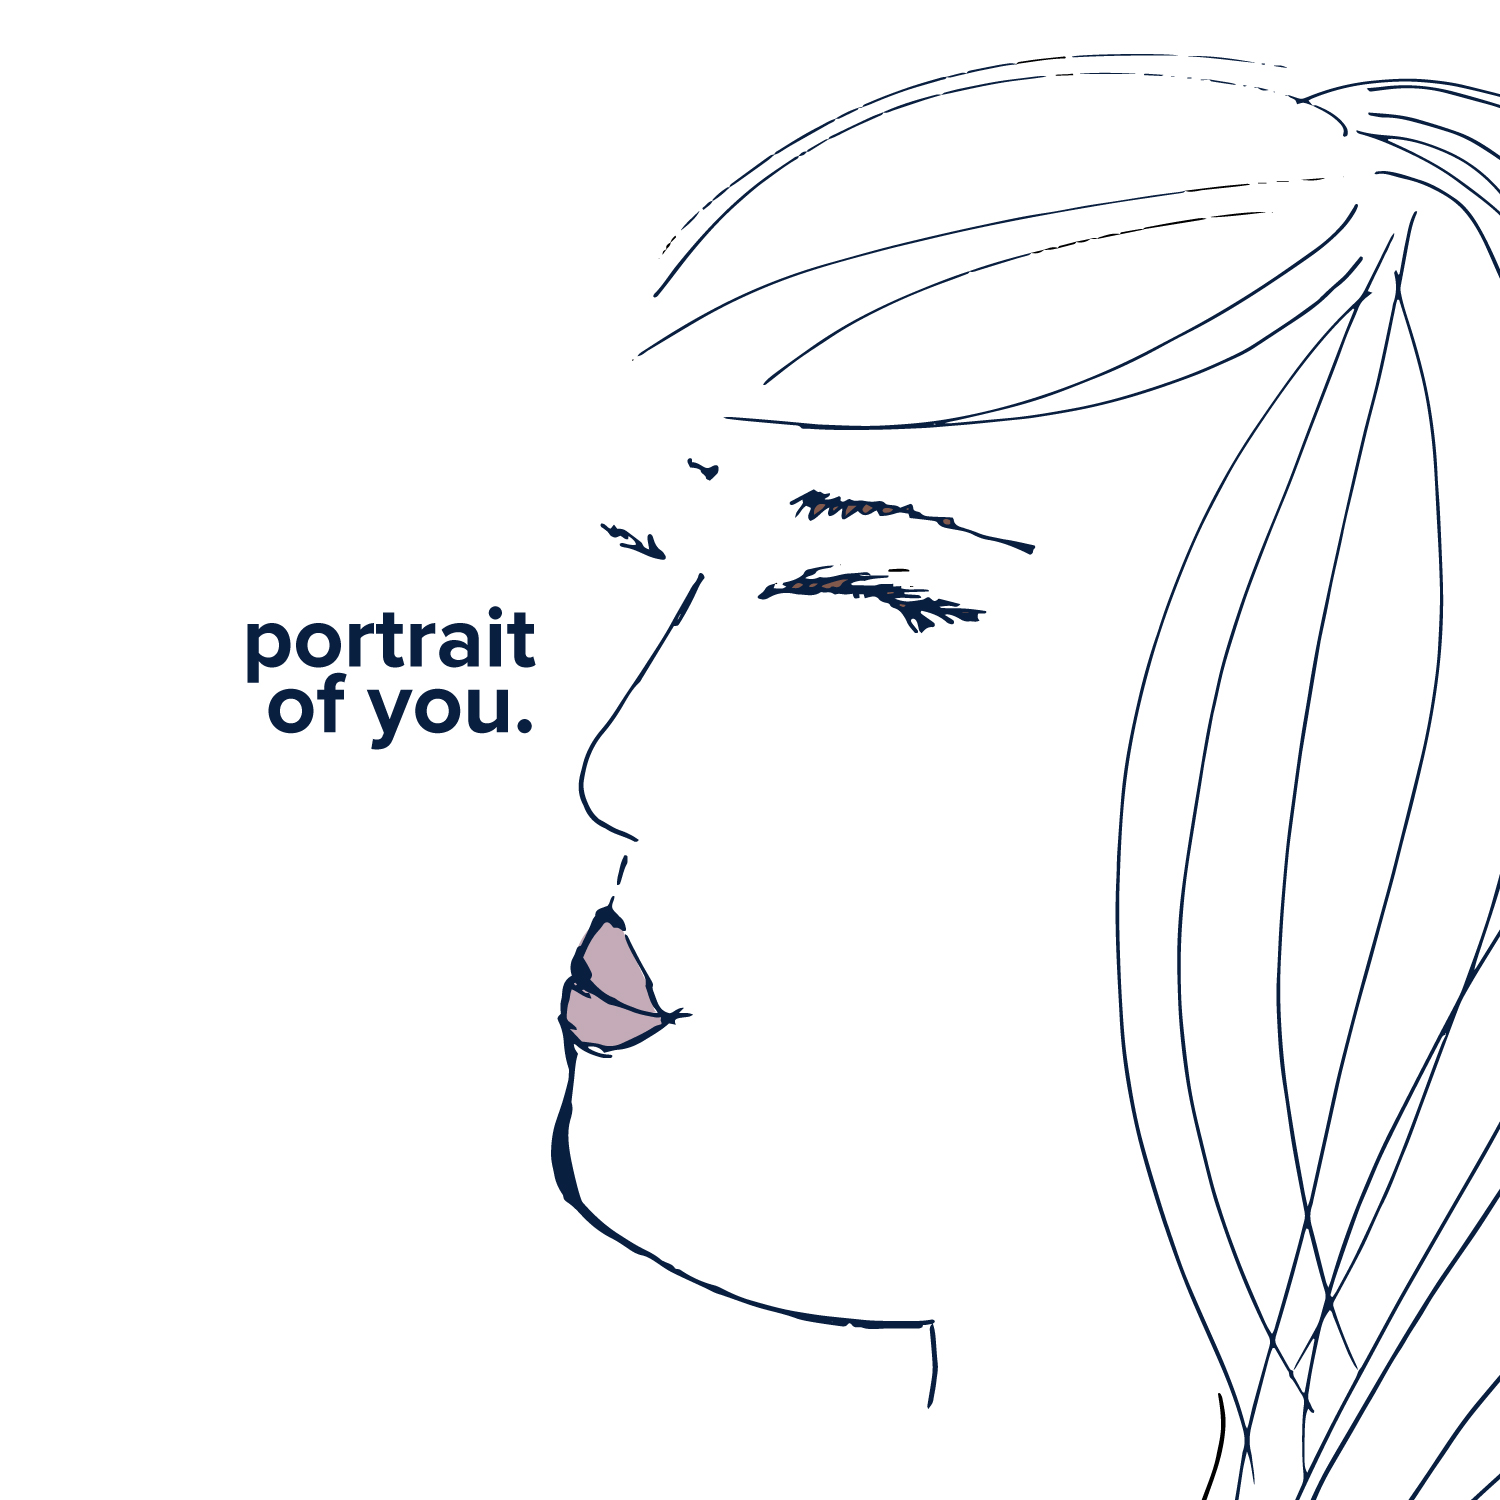
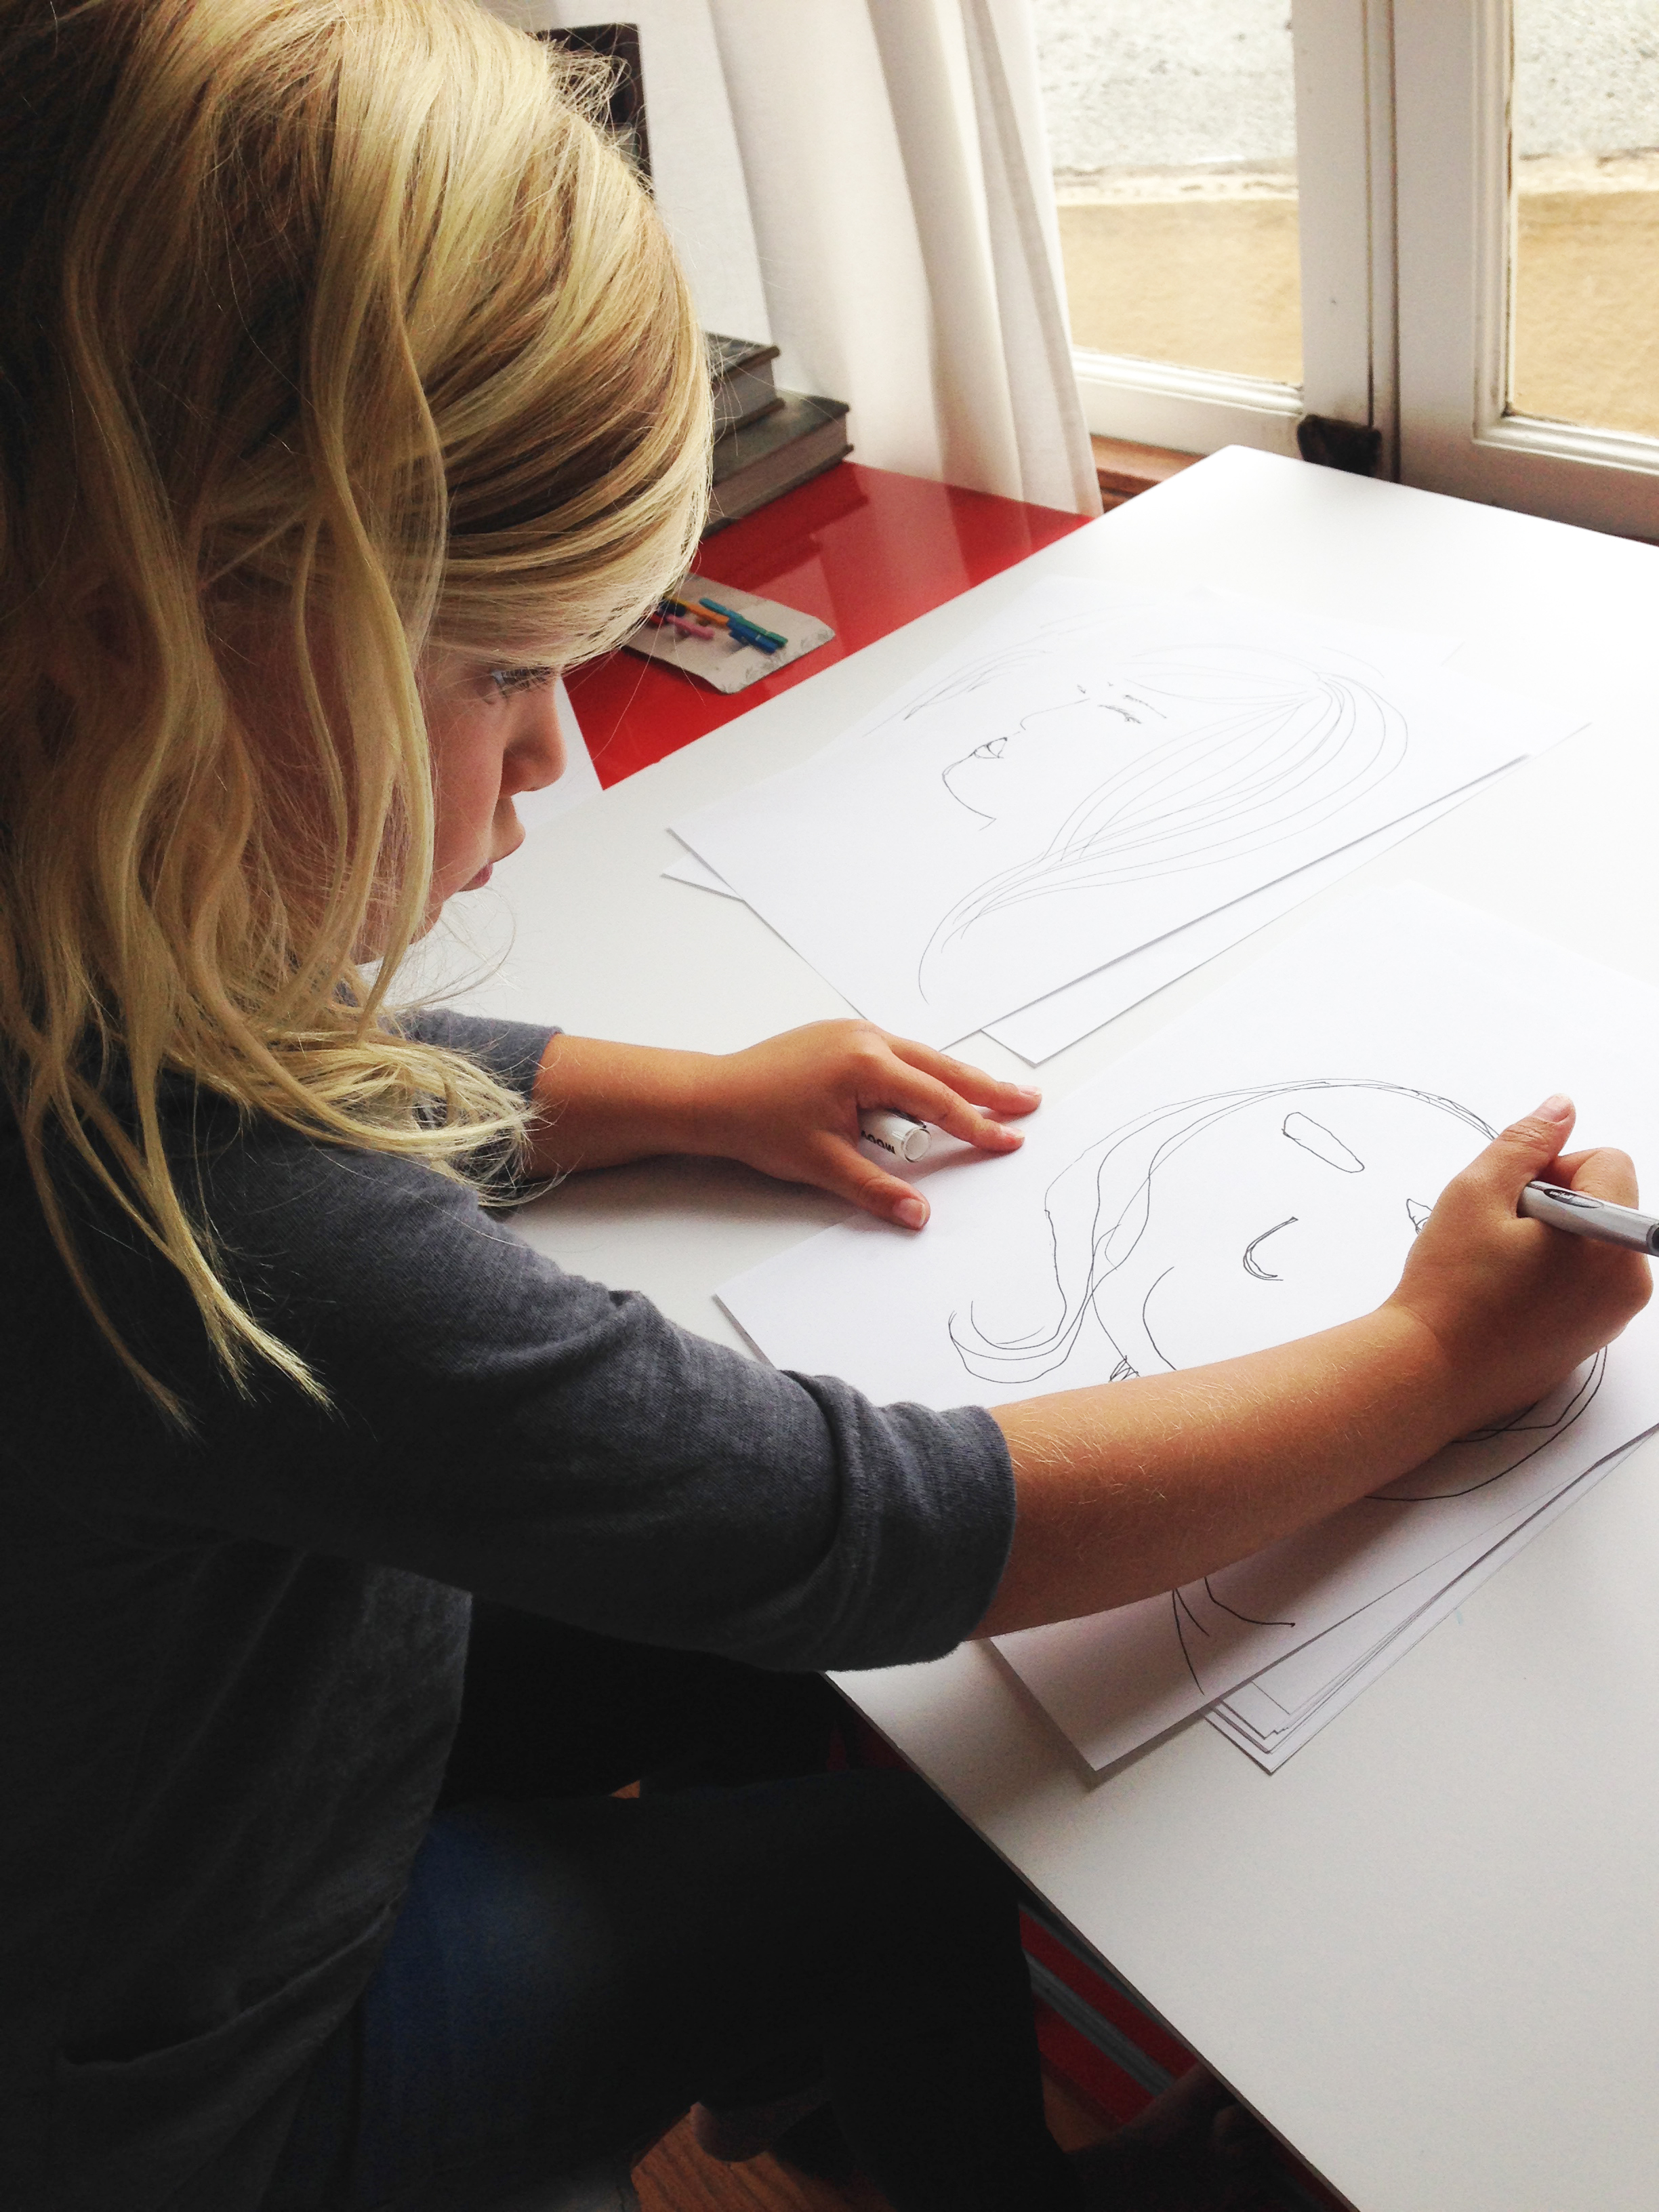
Now for today's project. Take the question above "If you had to carry one book around for the rest of your life, it would be _______, because ________."  and create a story why a certain book is important to you. Pull out that book. Take a peek and then place it somewhere in a place of honor.

Until tomorrow.

SeptemberAndra WeberBooks, yet
Day 264 - You Need This No Calorie Birthday Cake Now.

Hello Birthday! No it's not my birthday but I know someone who's birthday is tomorrow. She is a super duper important person in my life. Whenever it's her birthday, I always try to find something special for her. It's hard to find a gift says how important she is to me. She's the one that babysat me, took me to my first bar and let me sleep in her guest room when I was broke as a joke. She is the one that continues to make sure I don't take things too seriously by intermittently sending me glitter bombs. She's my big sister and it's her birthday tomorrow.

As I have said before on this blog, birthday's are big at our house. No one does birthday stuff better than the site Oh Happy Day! Do you need a super special piñata to get the party started? Oh Happy Day! is a wealth of resources and and an online shop to get any party rocking, with style, right from the start. With that said, I found this adorable gift box tutorial. For today's project, let's give it a whirl. You can find the step by step on Oh Happy Day! or take a look at this video as I try to construct this sweet little birthday box. 

A couple things to note, I only used hot glue for the entire project. All the paper supplies can be found at Target. I forgot the happy birthday banner on the side of the box and I used a butter knife to score the edges of the box tabs. The beautiful one-of-a-kind handmade JaxKelly stud earrings that are "sisters not twins" can be purchased on Etsy here: JaxKelly Handmade Jewlery.

Well, I am afraid I have ruined the surprise but I hope big sis loves this little package. I think this will be the best no calorie birthday cake ever! I'm off to get it into the mail. Until tomorrow kids!

Day 263 - Water Your World Amazing.

Hey. It's water works today over here. That is to say, we are going to work with watercolors for today's project. My friend keeps asking me the fastest way to create something to fill a blank wall and watercolors offer that kind of magic. Watercolors are a creative medium that is fresh, exciting and modern. The layering of color and the excitement of the water drying, adds anticipation to the creative process. Watercolors are also alluring and unexpected in both the process and the result. When you have a wall to cover, they offer an opportunity for a quick solution and make a big impact. Plus, who doesn't like to play with water? The most important lesson to remember about watercolor is restraint. Watercolors guide you, not the reverse.

Let's get those walls covered and start today's project with an oversized modern watercolor print. Here are the tools needed. All can be purchased at Blick Art supplies.

Here are step by step instructions and a video to walk you through the process.

Step 1: Tape the poster sized ( 22" x 30") paper to a work surface. With a ruler measure 3 inches in on each side and mark the 3 inches with a pencil. This will create a specified white boundary and a work area for you. (measuring a boundary is optional but recommended)

Step 2: Cut strips of artists tape approximately 3 inches long. Within the work area, make a design with the tape. Place some tape closer together and some farther away. Remember, where the tape sits will leave white negative space and everything around it will be paint and water.

Step 3: Squeeze out the watercolor on a paper plate or pallet. Dip the brush in a cup of water. Now add paint to the brush. Start to brush the water and paint on the work area over the tape. Remember, watercolor painting is all about the beauty of restraint. Place the water and paint on the paper and resist moving the paint and water around.

Step 4: Let dry completely. Peel up all the paint strips and sign your work. All that is needed now is a frame!

Have fun coloring your world amazing today with water and see you tomorrow waterworks!

SeptemberAndra Weberwatercolor, yet
Day 262 - A Lady Of The Night.

Good day to all the shutterbugs out there. Night Photography Week on Creative Live ended yesterday. If anyone missed the free classes, there is an on demand pass available for each class for $39 or a Night Photography Package for $179. I highly recommend Gabriel Biderman's Night Photography Fundamentals or Matt Hill's Portraits At Night. These classes offer an excellent and thorough explanation of what is needed to start creating with a camera at night.

One of my favorite techniques learned was night painting. The technique involves leaving the shutter open and using a bright light, such as a flashlight, in order for light to become the paint. You most likely have seen this technique done with sparklers or a flashlight. Yesterday, I received a remote switch and I was bursting to get started. I originally set up the camera on my roof to capture the full moon only to find the Bay Area fog had rolled in at the worst possible time. So, I tried night painting last night on the roof. Here are some shots.

Cool right? Now, you are thinking "Well, that's neat but I don't own a SLR camera. I'm not going to be able take these neat shots." Good news! There are smart phone apps available for downloaded powerful enough to create night painting. I haven't tried either but I hear  Slow Sutter Cam or Night Cam Pro  for the i-Phone are a good start for very basic night photography shots. Today create night painting and make yourself a lady or gentleman of the night!

Until tomorrow shutter bugs.

Day 261 - Design Never Out Of Reach.

Hello Friday! We are back in the saddle today and recovering from yesterday's power tool post. After some downtime, I was able to slide the two wooden pieces firmly together to create the magazine rack we carved up yesterday. Success! It's semi-functional. Now let's take these slabs of wood up a notch. Let's pull out the design eye so the magazine rack dazzles in any living space. That way, a magazine is never out of reach.

Sandpaper, paint, blue painters tape and a small paint brush will be needed to take this magazine rack from frumpy to fabulous. 

Step 1: Sand down both boards. This makes a mess so, step outside. 

Step 2: Tape down your design. Remember to leave some of the wood peaking through. Negative space works in our favor here.

diy_magazine_rack_9.jpg

Step 3: Paint the area desired and then wipe off some paint. This creates a white washed effect. Let the paint dry. Peel off the tape.

Step 4: Push the two boards together and load up the magazines. Ta Da! 

Broken up, this project took less than two hours. Not a bad way to store magazines just lying around. I'd give it a few days before someone trips over it and the wood cracks but this was a fun, easy and useful way to create with power tools. Until tomorrow DIY HGTV lovers!

Day 260 - Just A Girl & A Power Tool.

Hey! Welcome to Thursday and a whole new way to create, at least for me. Who here has used a power tool before today? Not me. Well, unless you count a flashlight which I am pretty sure would be classified as a survival tool. Well, that is not exactly true. I have used a drill in my life time. However, for me, using a drill usually ends with the patching of drywall. In short, I'm not very good in the power tool department. However, there is something invigorating, alluring and scary about using fast moving tools powered by volts of electricity. What could go wrong?

Today, let's dive in and create something with a power tool. After looking through Pinterest, this DIY simple magazine rack looks like an easy, fresh and modern way to try our hand at creating with power tools. All the directions are right in the link. Here are a few photos from my first attempt at using a jigsaw power tool.

I'm not really measuring here. This photo is a total lie. I'm pretending that I am good at accuracy.

I'm not really measuring here. This photo is a total lie. I'm pretending that I am good at accuracy.

Notice the two lines? Both are wrong. I had to measure 5 times.

Notice the two lines? Both are wrong. I had to measure 5 times.

This is right before I started sweating from fear. Look at that blade! 

This is right before I started sweating from fear. Look at that blade! 

This is right after I realized I was unable to take a photo and use a power tool at the same time. Don't ever try this at home! 

This is right after I realized I was unable to take a photo and use a power tool at the same time. Don't ever try this at home! 

I can firmly say I was terrified to use a jigsaw. After sweating it out for 2 hours, I Googled "Power Tool Safety" and found the following power tool safety tips from OSHA.

  • Operate electric tools within their design limitations.
  • Use gloves and appropriate safety footwear when using electric tools.
  • Store electric tools in a dry place when not in use.
  • Do not use electric tools in damp or wet locations unless they are approved for that purpose.
  • Keep work areas well lighted when operating electric tools.
  • Ensure that cords from electric tools do not present a tripping hazard. 

Now a few safety tips from me: 

  • Keep a SLR camera on a wobbly tripod away from a moving jig saw.
  • Don't use a 100 ft extension cord when you only need 10 feet. Hello concussion!
  • Measure at least 5 times and cut only on the line. Right on the line. No, not the first line drawn. The fifth.
  • Don't try to turn a jigsaw at a 90 degree angle while at full power.
  • Using a shipping box as a cutting support is not ideal.
  • When a part falls off a power tool, don't just put it back in the box. Google it.
If you were a fly on the wall at this moment, you would have heard me giggling with glee as I had cut my first piece with a power tool. Cut might be too generous of a description as the piece broke off. I'll take it!

If you were a fly on the wall at this moment, you would have heard me giggling with glee as I had cut my first piece with a power tool. Cut might be too generous of a description as the piece broke off. I'll take it!

A peek at the final product. It fit together, almost.

A peek at the final product. It fit together, almost.

Our first go around at power tools was fun but there is still more work to do. Stay tuned. Tomorrow, with a little sanding and paint, we will take this magazine rack from "It fits together!" to "Living room ready!" or maybe more like "Back of the garage ready!" Until tomorrow budding Bob Villas!

SeptemberAndra Weberyet
Day 259 - You Can Quit At Anytime.

Oh hey. Here we are today. I was going to dive into more night photography for today's post but I am waiting for some special gear to arrive. More on night photography in the days ahead. If you haven't checked out the free live course on Creative LiveNight Photography Week, it's a great class that runs free all week. Did I mention it's free?

That leaves today. Are you like me and feeling a bit lost in it all? It's hard to see progress being made when life can seem like a bunch of falling leaves falling off a perfect, beautiful tree. No mater how desperately we try to place the leaves back on the tree, it's never going to happen. That's life. Things fall apart. Things don't work out. People leave. Things are sad. Opportunities lost. Seasons change. Like a computer trying to save a huge document, sometimes life doesn't seem to be making progress as fast as we need or want. The saving bar hardly moves. We wonder if we should just shut down and turn off. Sometimes it's refreshing to know we always have the option of quitting anytime.

However, in these moments it's the act of creating that can stop us from quitting. Today, I had a moment when I just thought "What is this all for?" "This might be it. I'm too tired to create anything. I would rather just go sit on the couch and watch television." Then I looked around at my absurdly messy office. There are stacks of illustrations everywhere. 259 days ago I didn't have one. No, not a one. As I searched through my photos today, I realized I have taken thousands of photos over the last nine months and continue to learn the art of photography. Most importantly, I have made connections and listened to stories of what creating means to others. I realized that if I turned off the computer and walked away, I would never know what happens next. I had a falling leaf moment.

Today's project is to use a leaf to symbolize how to reframe perspective. Pick up a leaf or a few outside. Grab a Sharpie marker and use the leaf as a surface to doodle. Now hang up the leaf in a place as a reminder of how reframing can help us keep going. Fallen leaves can never be placed back on a tree but it doesn't mean they can't blow in the wind. 

Until tomorrow.

SeptemberAndra Weberyet
Day 258 - Do Night Photography Week.

Hey All. Who here is a casual photographer? If you own a SLR camera or can borrow a friends, there is an interesting and highly creative Night Photography Week class that is going on right now. It's running all week and is completely free to watch live on Creative Live. This is a highly informative class and a shows fascinating ways to create in the dark. Personally, I never considered night photography. It just never seemed as if I would capture an interesting photo in the dark. After one day of class, I can see the allure and the magic. Taking photos at night can create interesting and dynamic works of creativity. However, for me what makes it appealing is the fresh perspective it can bring to the world. It also a little bit dangerous too which always gets the blood pumping and makes life exciting.

Today's project is to create a night photograph and start watching the class Night Photography Week on Creative Live. If you don't have an SLR, it's ok. Try to use your smart phone to capture something at night. Just pull out your phone or camera and try! It's amazing what can come out of stepping out to create in the dark.

After watching day one of this class, I found myself on the roof of my house trying to shoot the moon, literally! Unfortunately, I couldn't get a photo of the moon but I did manage to take a photo of the BART train speeding by. It's a pretty horrible photograph but it was amazing see the world from a whole new way to create.

Well, I'm going to get back to the Night Photography Week class. Let's see what the night makes you create. Post your photos on the Create & Change Facebook page. Until tomorrow night shutterbugs.

Day 257 - You Need To Smell This!

Oh hi! Today, I wish Smell-O-Vision was real. Together we could smell the pot that is simmering on my stove. I'll get to specifics about that pot in minute. For now, let's talk memories. Did you know our strongest memories come from our sense of smell? Read more about the sense of smell and memories here in Psychology Today "Smells That Ring Bells: How Smell Triggers Memories & Emotions." Maybe we remember the smell of our mom baking bread as it wafted through our childhood home. Or the smell of layers of varnish peppering the air in our high school gymnasium. Or the time we turned off the electricity in our college apartment, during summer break, only to return and realize we forgot to clean out the refrigerator. If none of these examples of scent hits home, I bet there is one scent that will conjure up a memory or two for you.

In the meantime, let's get back to discussing the pot that is simmering on my stove. It's a DIY scent concoction that will surely waft in the golden leaves and longer days of fall. Let's throw a few spices in a pot and create a scent tigger that will take us back to a certain time and place. Toss a few pieces of orange rind, 2 tablespoons cloves, 3 cinnamon sticks, 3 bay leaves,1 whole nutmeg and water into a pot. Set the pot with contents on the stove to simmer. After about 20 minutes, the house will fill with an inviting, spicy and generous scent. It might also trigger a life long memory for you. Just don't forget to turn off the stove after you are done sniffing all the goodness.

Funny enough, as the pot sat simmering my husband said the smell took him back to college and then later he said it smelled like his grandma's borscht. Funny how memories are afford us time travel.

Well, drop me a line and let me know how your nose likes the cloves. Until tomorrow folks!

Day 256 - Portrait Of You.

Well hello you. It's the weekend and I am sure everyone has stuff to catch up on and places to go. To keep the creative juices going on this busy Sunday, let's create a quick project to test our skills of observation, the 2 minute portrait. Today, grab a friend, a piece of paper, a timer and a pen. Sit down together, set the timer for 2 minutes and draw your friend. Take the minutes to truly observe the person in front of you and quickly sketch their character. Once the portrait is complete, switch with your friend. Have your friend draw you too.

Isn't interesting what can be learned from the power of observation? See you tomorrow friends!

SeptemberAndra WeberDrawing
Day 255 - Fall For Pumpkin Spice.

This post contains and affiliate link.

Oh hey! Yep, it's officially fall. The leaves are turning to a golden shade. The light in the evening has started to fade earlier and earlier. If one stops and closes their eyes, one can feel the the shift of the summer fade to fall. One can also see the copious amounts of pumpkin spice products pop in everything from candy corn to lattes. Yeesh. When did fall become so commercial?

Well, let's not fight it and celebrate the ubiquitous pumpkin spice fad. Today let's fall right into pumpkin spice and create a Pumpkin Spice treat so super delicious, we will be saying "See ya summer and hello fall!" Introducing the delicious, amazing, heavy like a brick in the stomach Pumpkin Spice Cream Cheese Muffins.

Let me just take this opportunity to say, this Pumpkin Spice Muffin recipe is a hands down classic. Nope, I didn't create the recipe. You can find the original recipe at the blog "Crazy For Crust." I did modify the recipe a bit below. Here is a video on these Pumpkin Spice Cheese Muffin little darlings. I have also included the written directions below.


Pumpkin Cream Cheese Muffins

Makes: 12 standard size muffins

Muffin:

  • 1 cup sugar
  • 1/3 cup vegetable oil
  • 1 cup pumpkin puree
  • 1/4 teaspoon ground ginger
  • 1/2 teaspoon ground cinnamon
  • 1/2 teaspoon fresh ground nutmeg
  • 1 teaspoon baking soda
  • 1 teaspoons salt
  • 2 eggs
  • 1/4 cup milk
  • 2 cups all-purpose flour

Cream Cheese Filling:

Step 1: Preheat the oven to 350 degrees. Line a cupcake tin with paper liners.

Step 2: Place the sugar, oil and pumpkin puree into a large bowl and hand mix together until smooth. 

Step 3: Place the ground, ginger, cinnamon and nutmeg in a small bowl. Add the baking soda and salt. Combine.

Step 4: Add the eggs, and spice mixture to the pumpkin mixture. Combine. Add 1 cup of the flour and mix. Add the milk and then add the remaining 1 cup flour. Mix until combined. Using a large spoon or ice cream scoop, fill the cupcake liners 3/4 full.

Step 5: Combine the cream cheese, sugar and vanilla until smooth. Drop 1 tablespoon of the cream cheese mixture on top of each muffin. Garnish with the pumpkin seeds.

Step 6: Bake at 350 degrees for 20-23 minutes or when a toothpick comes out clean. Let cool completely. Store in an airtight container in the refrigerator for up to 2 days or freeze in a freezer safe container.

Let's just fall right into pumpkin spice. See you tomorrow summer!

SeptemberAndra Weberfall, recipes, yet
Day 254 - Get Twinkled.

Hey! It's Friday and who doesn't need some stars in their eyes today? Isn't it nice to go into the weekend shining bright? Let's get twinkled today. Who wants to create a few or a ton of amazing little paper stars to usher in the weekend with sparkle. Perhaps write a little message on the inside to make someone else's weekend shine bright too? Let's get started with these tiny darlings.

You will need strips of paper cut 8.5" x .5".

Watch this video for folding instructions and inspiration.

Now go create a few or a ton and shine right into the weekend. Don't forget to make a wish and see you tomorrow little star!

SeptemberAndra Weberorigami, yet
Day 253 - Do The Opposite.

Oh hello. This post is going to be a quick one today. As I am only typing with my left hand because today's project is to create a new sense of awareness by doing the opposite. If you are right handed, try using your left only. If you are left handed try only using your right hand only. If you always need to lead a conversation, try to letting someone else have the last word. If you tell yourself you need more, tell yourself you need less. Try the other side today.

As I type this with only my left hand, I am literally sitting on my right hand. All I want to do is type with my right. I feel the wheels in my brain turning and burning. Working the opposite side of my brain is enlightening and aggravating! Here I try drawing with my left hand only:

Hum, these drawings are simple. Providing details in the drawings was very difficult. I don't know how long I can keep this up! In short, only working with my left hand is a total charade It's, however, making me more aware of how my body and mind works. How about you? Drop me a line and let me know how it feels to do the opposite. Until tomorrow lefties & righties.

SeptemberAndra Weberyet
Day 252 - Open Me.

Hello there. It's me again. Where does the time go? Each day is approximately 24 hours long but some days feel like they are filled to the brim with "Alice In Wonderland" moments. As in, I'm always late for a very important date! When I am rushing all day, it can feel like there isn't time for anything else, especially fun. Today, let's create something that will pass on a different type of "Alice In Wonderland" nonsense, the open me bottle.

You will need the following:

Step 1: Create a wacky note or print one here. Add glitter or confetti to the bottle.

Step 2: Wrap the $1 bills in the note. Stuff the roll in the bottle or vessel. Attach an "open me" note.

Step 3: Now hide the bottle. Imagine the nonsense feeling someone will have when the bottle is found. What kind of crazy story will they create about the open me bottle? Will they hesitate to open the bottle? How will they get the note out? Will they think it's trash or treasure? Will the pass it along or throw it away?

I hid this in the park tonight for me little ones. We had such nonsense fun hiding and looking for this tiny bottle of magic. They were thrilled to see what was inside and somewhat confused. In the end, having this nonsense fun was much better than rushing all day. Until tomorrow Mad Hatters!

SeptemberAndra WeberDIY
Day 251 - Found It!

Oh hi. It's Tuesday, let's talk about making ideas fly today. Getting ideas off the ground needs creative inspiration. Sometimes inspiration comes from life around us. As I was enjoying my Labor Day yesterday, I found myself looking desperately for a creative project. As I sat I my desk, a few feathers rested against my computer. They were the same feathers used just a few days before in the Me & Martha post. A light bulb went off in the old grey matter. Maybe I could create with feathers, again? Sometimes found objects make the best creative launching pad.

This is a quick project with items that can be found in any office or art bin. For today's project grab the following:

  • thick card stock or watercolor paper
  • black stamp pad
  • a flat found object (feather, leaf ect..)
  • paper plate or paint pallet
  • paint brush or sponge
  • black paint (watercolor if possible)
  • fine black pen

Step 1: Gather supplies and cover work surface. Using the black stamp pad, stamp texture on the car stock or watercolor paper.

Step 2: Using a little black paint, load up your paint brush. Place the found object on the paper over the stamp pad texture. Now paint over and around the object. Repeat as desired. Let paint dry.

Step 3: With a fine pen, fill in the missing details. Now, stand back and admire the work.

Isn't it funny how creative inspiration can be found in stuff sitting around? I need to get back to thinking up a tomorrow's project and looking around for more inspiration. Until tomorrow kids!


SeptemberAndra Weberyet
Day 250 - Summer's End.

Well, hello. This is it. The unofficial end of summer. I am folding away my summer whites, placing the popsicle molds to the back of the cabinet and throwing the pool toys into the garage. Whether you have kids or not there is something special about summer. It's warm welcoming arms turn us towards fun and give us permission to play. As tan lines fade and we get back into the cycle of routines, it has occurred to me that sometimes we forget to say an official goodbye to summer. 

Today, create a goodbye to summer. Take one last summer bike ride. Go to the beach and soak up the rays. Host an impromptu BBQ. Eat one last leg of fried chicken. Spend every last minute outdoors. Eat one last giant scoop of ice cream. Ride a amusement park ride for the last time. Take one last dip in a pool. Slice one more watermelon. Sit and sip some sun tea. Whatever you do, take one last day to soak up summer and say goodbye.

I'm headed to grab some Fro Yo and soak up the last moments of summer sun. See you tomorrow summer loves!

SeptemberAndra Weberyet
Day 249 -Me & Martha.

This post contains affiliate links.

Afternoon! Fall is just around the corner and  fall always makes me want to get crafty. For the record, I'm not a big crafter. I'm not big into making my own soap or crayon art. When, however, September rolls around my inner Martha Stewart can't be caged. Martha is one of my favorite people. She has taken creating and glitter to a whole new level. She is a solid self made business woman who continues to capitalize on getting people  to create. In short, I like her style.

Today, let's channel our inner Martha and create this quick fall project that will add a little spice to September, golden glitter feathers. Martha undoubtedly would use fabulous feathers, from a golden goose, only located by boat on the island of Greenwich. She would most likely lovingly gather each perfect feather into a hand woven baskets made by natives. I'm not Martha, so all the supplies for today's project are available either on Amazon or your local craft store.

Golden Glitter Feathers

Step 1: Cover work surface. Tape off the tips of the feathers. Add the paint to the paper plate or pallet.

Step 2: With the paint brush, paint the feathers with the pale bronze paint.

Step 3: Sprinkle the glitter on the tips of the feather and let dry for about 30 minutes.

Step 4: Hot glue a few feathers on a grape vine wreath or string them up with twine. Place them in a glass vase or lay them in a dish. Watch them sparkle and usher in fall.

Enjoy the golden feathers and see to tomorrow all you Martha wannabes!

SeptemberAndra Weber
Day 248 - Stitch Together.

Awe, hello. Good to see you this fine Saturday. It's been quite a week to say the least. When a week like this bubbles up, nostalgia seems make a big entrance. It is as if, thinking about the past clears the way for the future. Today, I was remembering how my mother taught be to sew.  At the young age of 5, I remember sitting on her lap, the loud purr of the sewing machine echoing in my ears as we pushed strips of fabric through the sewing machine to make a bean toss. It was pretty amazing that our hands together created something from a few pieces of scrap. It was one of those moments I will always hold tight.

It's been 30 or more years since I sat down to sew. With all this nostalgia swirling, I pulled out a sewing machine to see what I remembered. As I sat with my 5 year old, all the teachings my mom passed on to me, came flooding back. I showed her how to glide the fabric through the machine and turn the work. After demonstrating how to whip stitch the pillow project, we took a few pieces of fabric created something together. It was pretty magical having her on my lap while passing on a skill I learned from my mom years ago.

Today, pass on a skill that you learned long ago. Create a connection from the past to the present. Perhaps grandma taught you the best way to make noodles? Maybe Uncle Joe taught you the secret way to throw curve ball? Cousin Lilly showed you how grow the best roses? Or your friend Julie schooled you on how to make the best mix tape? Pass on that skill on today to someone. Stitch together people in your life by passing on a skill from the past.

Well, have terrific Saturday. I hope it's magical for you and see you tomorrow kids!

SeptemberAndra Weberyet
Day 247 - Short Circuit.

Yep, Friday is here. It's been a long week over here. Frankly it's going to be great to end the week with a quick project so we can usher in the weekend with a smile. Here's today's project. Pull out a pad of Post It notes or a piece of paper. Grab a timer and set the timer to one minute. Now draw the following:

  • cat
  • rock
  • happy face
  • ice cream cone
  • water glass
  • book
  • smart phone
  • sun
  • banana
  • leaf
  • turtle
  • pen
  • shoe  
  • tree
  • donut
  • yourself
1 Minute Illustrations.

1 Minute Illustrations.

How many did you get done? When you sketched the objects did your brain short circuit at all? Yep, me too. Circuit through the process again and see what happens. Now, let's go get this weekend started. See you tomorrow weekend warriors!

SeptemberAndra Weberyet
Day 246 - Dreamland.

Oh, hey. Zzzzzz. Sorry I fell asleep. Have you ever had one of those days when you just can't keep the old peepers open? Yes, today I'm fighting off dreamland. I could grab a late cup of coffee or do a couple of jumping jacks. However, the recommendation is to go get shut eye. We often brush off sleep as something akin to having a craving for a cookie. However, sleep isn't a luxury baked good. It's important part of our physical and mental well being. Studies show adults need more sleep than we allow ourselves, an estimated 8-10 hours of sleep a night. Who has time for that kind of sleep? 

Since starting this blog, I myself get about 5 hours of shut eye a night. The lack of sleep stems from the fact I am going to bed directly after working on creating and my mind is whirling. I'm effectively teaching my body to crash into sleep by not creating wind down time. In short, it's important to have a slow down routine to get off to sleep.

Today's project is to create a bedtime routine. Get our minds ready for dreamland. Take a hot bath, spritz some lavender on your pillow, meditate, read a book, dim the lights, skip caffeine after 3:00 or watch a little television (not in bed). The key is to make a pattern of slow down time so the body recognizes it's a moment to get shut eye.

Well, I'm scooting off to count some sheep and power down the smart phone. Tell the Sandman hello. Until tomorrow sleepy heads! 

SeptemberAndra Weberyet